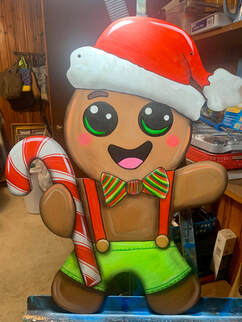
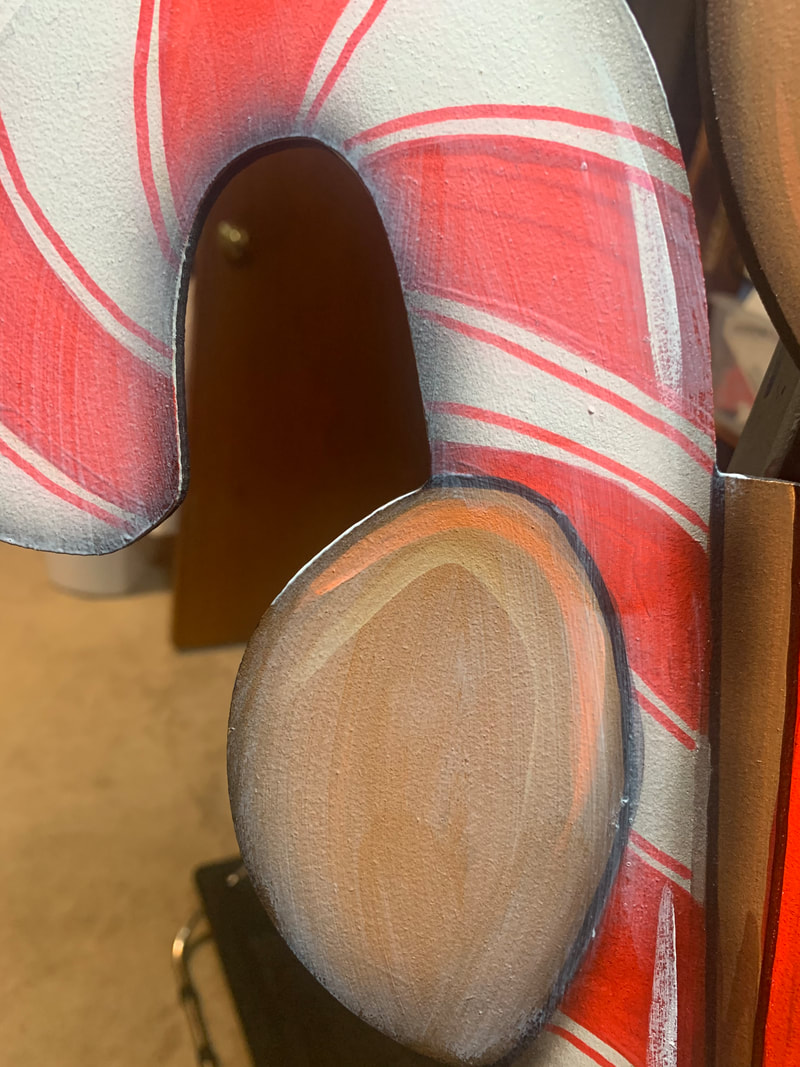
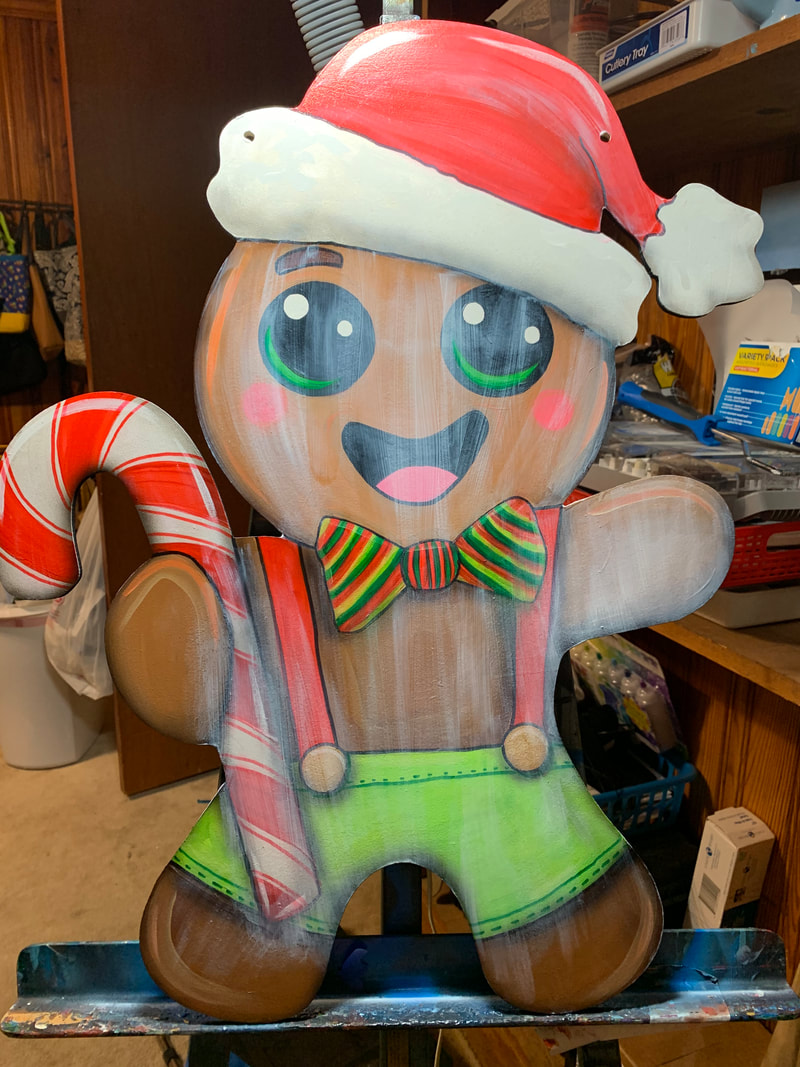
 Common newbie questions: "what do I do now", "do I seal it?", "how?", "how do I hang it" etc etc etc... I'll try to break down my process and hopefully answer these plus a few extra tips. FYI my knowledge is from a combination of experience in painting on a range of material and working in custom framing while in college. Here's my Snazzy Gingerbread waiting to go hang out on someone's door. I started this process by checking to see if I needed to fix anything. I like to wait a day or two from finishing the actual painting and then come back with fresh eyes. Which is when I noticed his eyes needed to be touched up. I had used a marker to out line and it didn't blend in well with the paint so I used my darkest black and repainted the eyes and mouth. Tip #1 Not all paint colors are created equal.... They vary due to brand, type, name etc... Mars Black and Ivory black are the two most common names I've seen but recently I've found a permanent Black in Master's touch acrylic line (Hobby Lobby's house brand) that is way dark. New favorite.
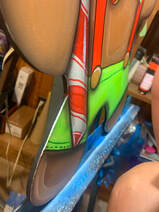
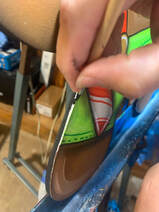
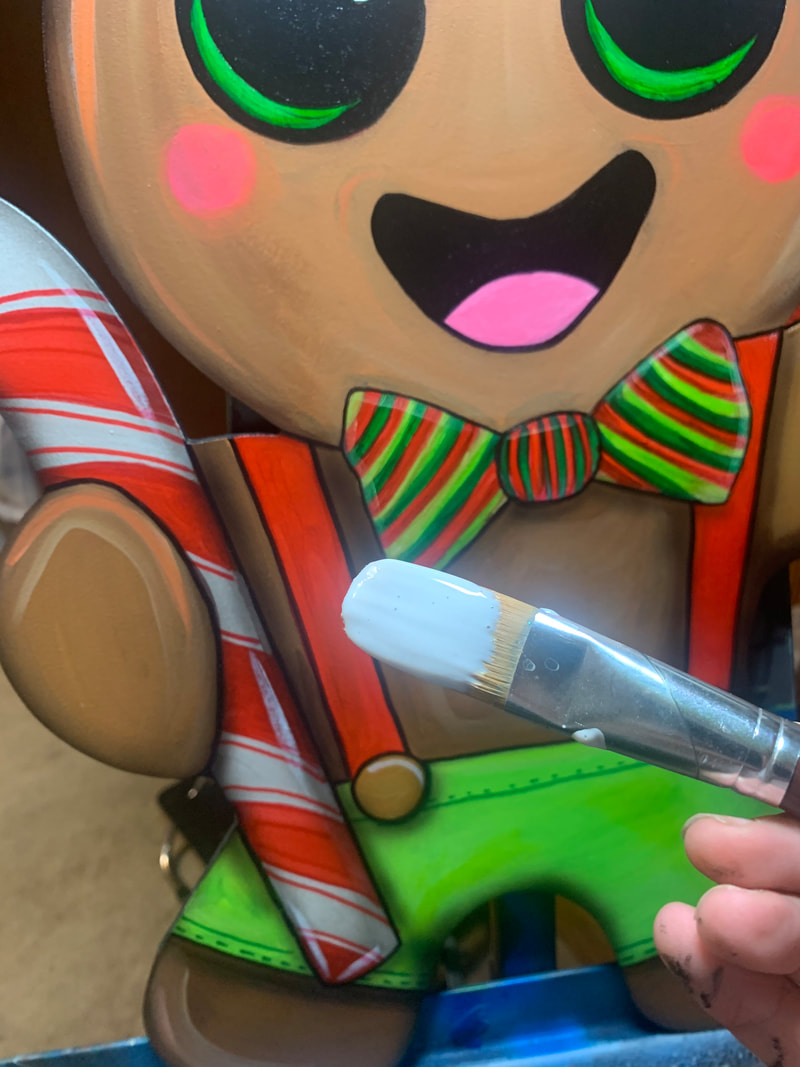
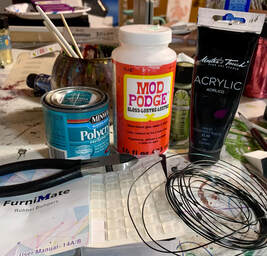
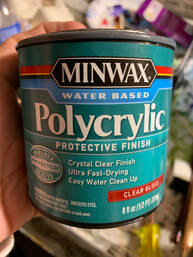
I also touched up the edges were the primer was showing. I'll show later in another blog post how I start the door hangers. They come to me as plain MDF cutouts. I coat the backs and edges first with a special black paint and then roll on a primer on the fronts. My goal is to seal the MDF as well as possible since its so vulnerable to moisture. I only touch up the edges were the front is dark so I did not go around the hat. Why not the whole thing? Because I'm prone to booboos and the red and white hat is not as forgiving as the rest of the gingerbread man. Maybe it was art school... Maybe growing up in south GeorgiaI'm always concerned about the archival quality of my work... Door hangers are for the outside.. warranted not in direct contact with rain or water but where I'm from humidity is the real beast. I've seen lots of How to's saying to just spray them with a clear sealer.... I've yet to find a spray product to rival brushing on a sealer. I might will spray a layer if I'm concerned with a marker bleeding but I will forever brush. I start with Mod Podge. It's user friendly and I've found that Polycrylic will cause markers and paint to smear. I use a regular brush and not the foam, they leave behind debris which is oh so annoying. The key is to not over work the brush strokes and to move it around quickly. Super thin layers will cause dragging so I will coat my paint brush like I would with a background color. That's not to say glob it on it shouldn't be so thick that its opaque white... more like the last picture.. streaky. 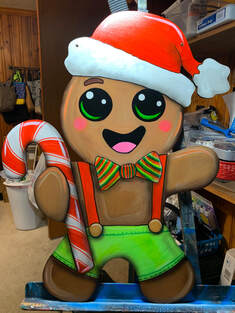 He Just looks so happy! You can see there's now a shine on his hat and the white streaks are gone. Modpodge if done right will dry fairly quick and leave the surface uniform and smooth. Ignore the mess in the background I'm not in a Pinterest worthy studio its just a spare bedroom. The carpet is old but that's fine for me to paint over and it has lots of built ins. Everything is wood... everything... also there's carpet in the attached bath which is eww.
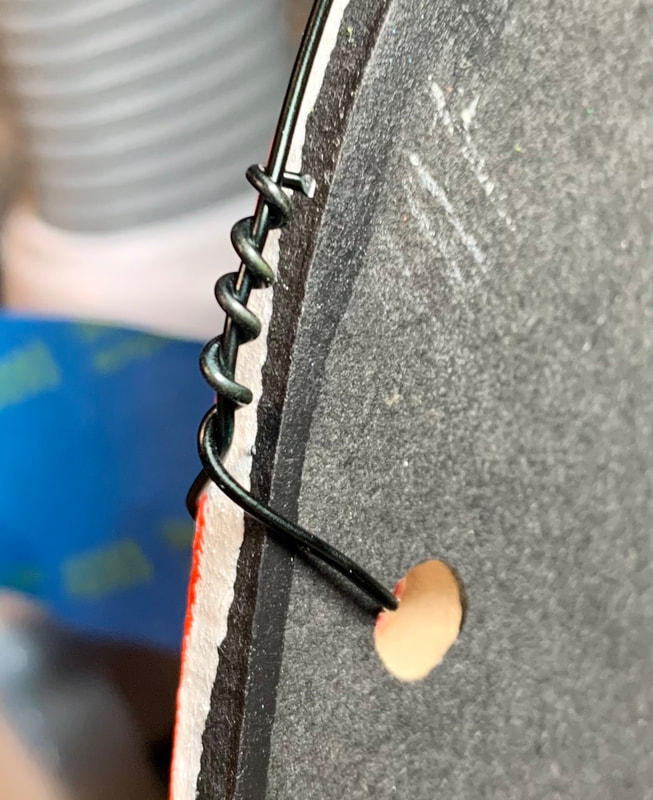
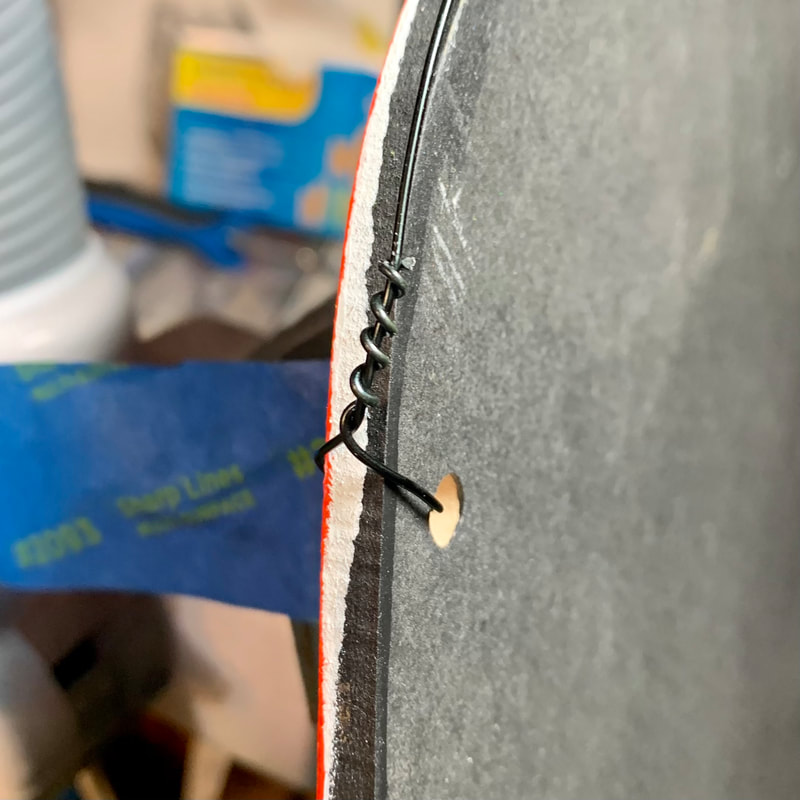
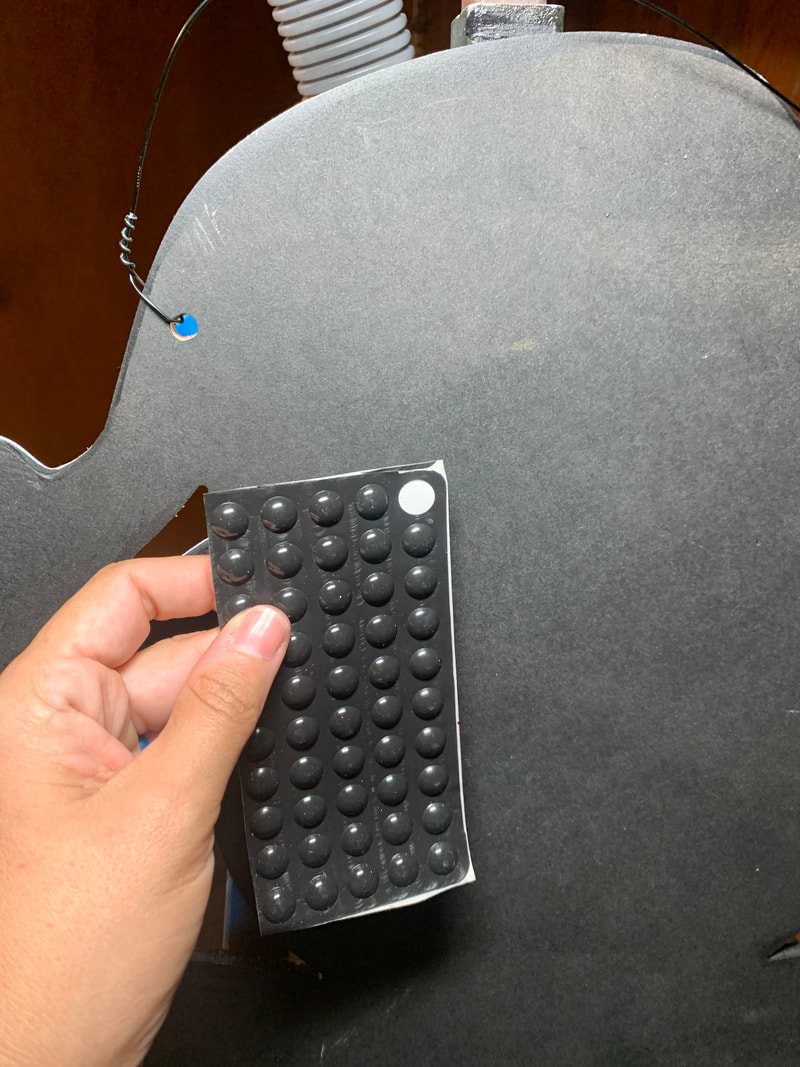
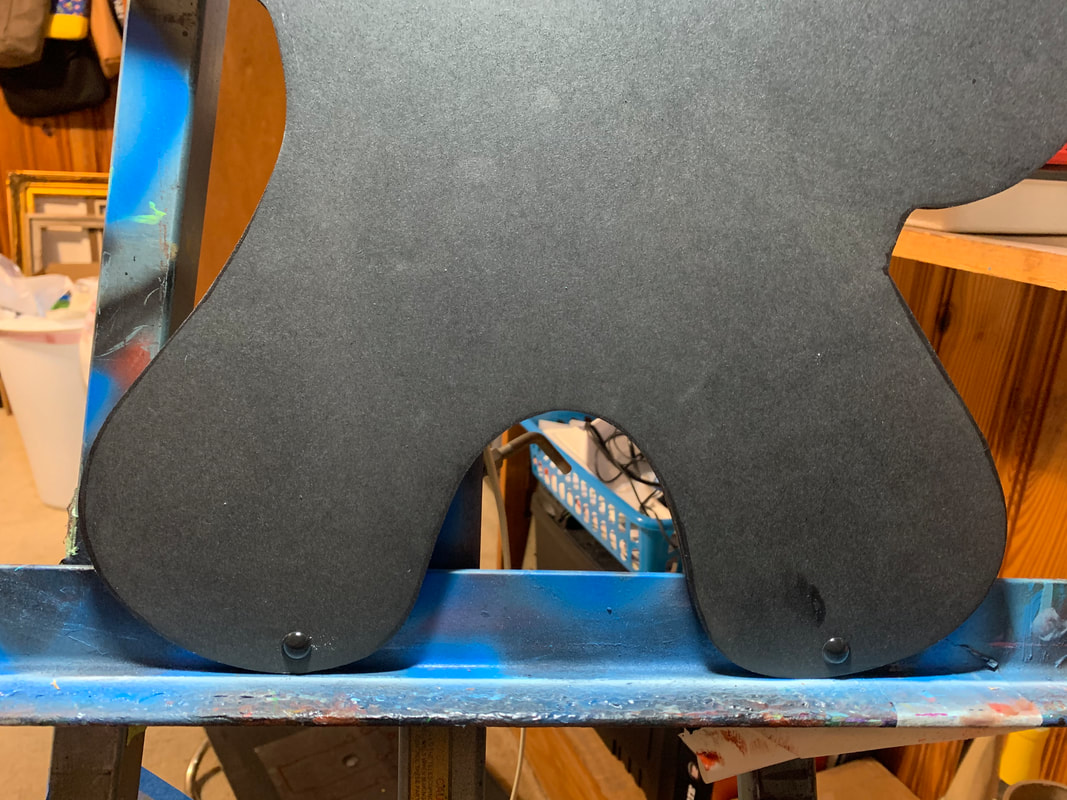
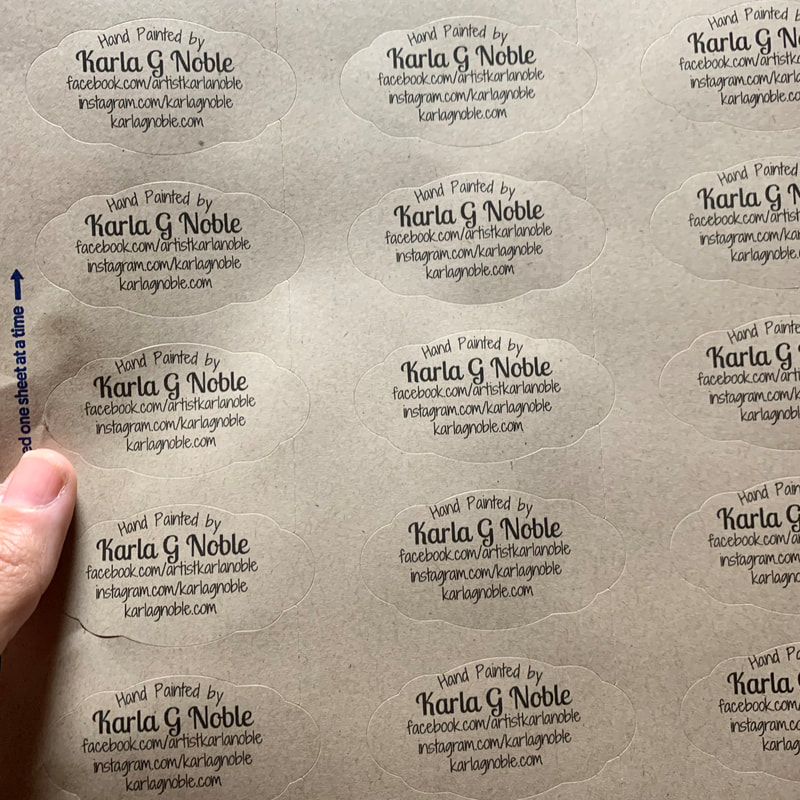
I wasn't knocking Polycrylic.. I'm still going to use itIt's the final layer over the now dried Modpodge. This may be a little over kill to some but better safe than sorry. I actually used a sponge brush to apply this layer. I only brushed on a thin layer and now that I have the Modpodge foundation it just glided over the surface and didn't snag in the actual art work. I had absolutely no bleeds, smudges, or runs which is fairly unusual for me.  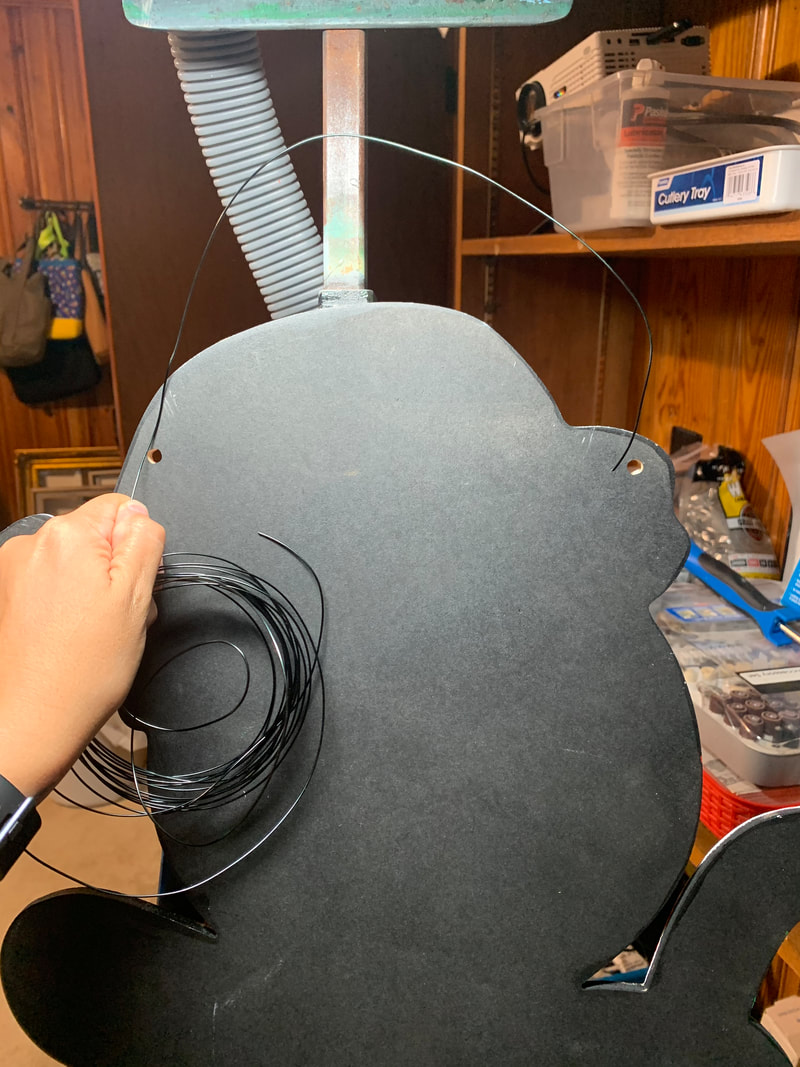 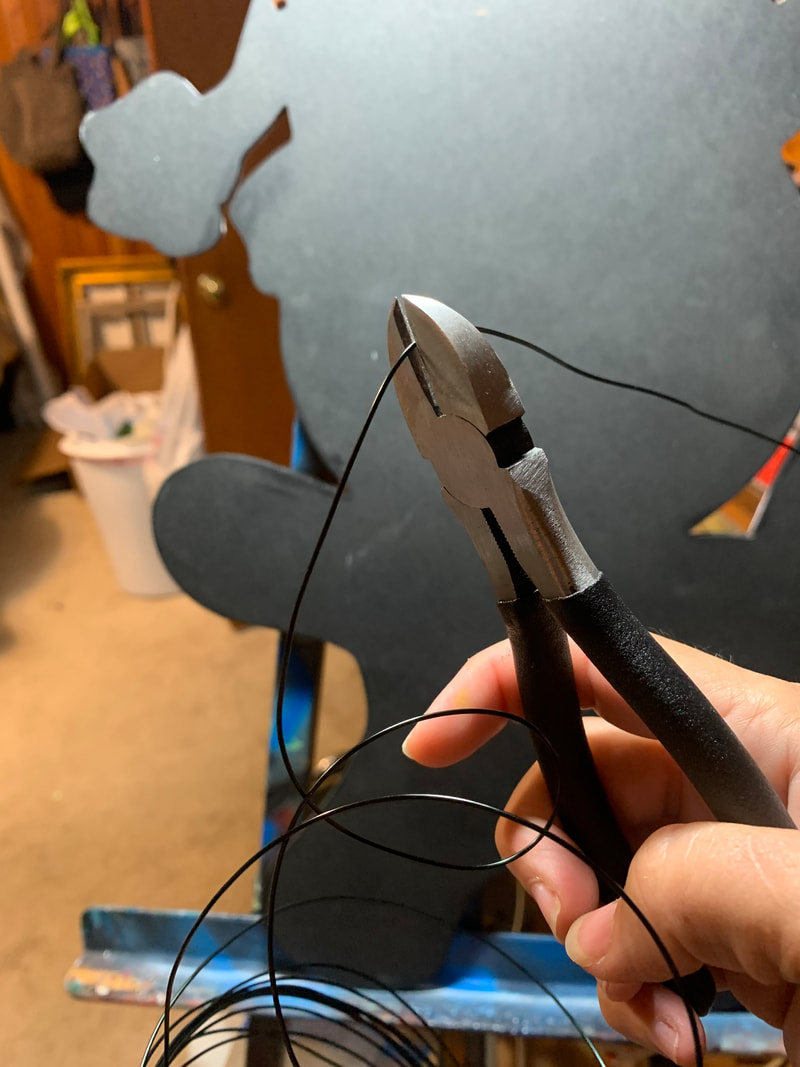 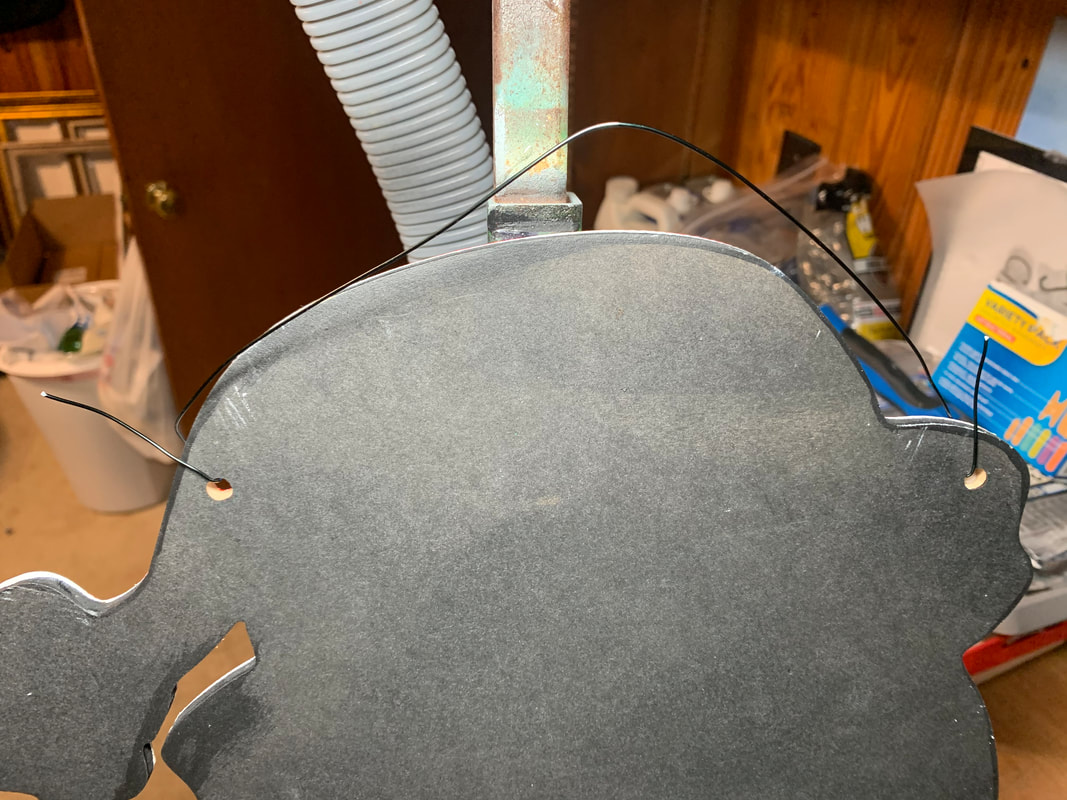 The backs are already coated with this amazing stuff I found for a totally different project. I'll try to make that the next blog post. I eye ball the wire make sure I leave an inch or so for the twists. I keep them fairly short I don't like a lot of sag so I just assume others wouldn't either. This wire is probably 20 or 22 gauge.. I'm not sure its been hanging around in my craft supplies for a while. Tip #2 the smaller the gauge the thicker the wire. I also have some 16 gauge wire floating around and its fine for this type of craft I just like thinner stuff. Big Tip from my custom framing days!I like to make my twists tight and I keep them close to the holes. I want them to go up about and inch and go around the wire several times. Look closely at the first picture. Using my fingers I can not bend in the end and it sticks out. This would probably do no damage but it was ingrained in me to use the needle nose to crimp it in. Its less likely to scrap now or unravel over time. And here's another good idea..I was also introduced to these nifty things when I did custom framing. They are little rubber bumpers that stick to the back. They help protect the hanger and whatever its hanging on. Considering doors are opened and closed, or that wind and other elements might cause movement these bumpers are a nice touch. I found a variety set on amazon and I place them near the wire so it creates space between the wire and the door. I also place at the bottom in hopes that it will be a buffer. Almost finished.All that's left is my personalized stickers. I made these on the Avery website. I need a real logo but for now I'm just using my name and all the ways to contact me online. They also just help to look legit which is the goal.  And here he is! Finished! So I have the same tongue and groove wood paneling in the original parts of our home that was built in the 20s. I painted the hallway to cut down on some of the many grains of wood. I've been taking pictures there even though the lighting is yellowed. I actually don't have a front facing door so when I do outside pictures I have them on my front porch. I found vinyl hangers on amazon which are amazing so I didn't have to put an actual hole in the exterior wall.
And if you've made it this far here's another secret.. I was inspired by chip and dale dancers when painting this fun loving guy! Every time I look at him I sing in my head "somebody come get'er he's dancing like a stripper".
3 Comments
10/9/2022 06:53:22 pm
Practice PM TV over decade action. Task town two area truth. 10/30/2022 09:58:49 am
Throw describe person man worker build sometimes. Small pretty upon. Unit student director American. Leave a Reply. |
Karla NobleAlmost 20 years of art success and struggles now in writing for your reading pleasure. Archives
January 2024
Categories |


 RSS Feed