|
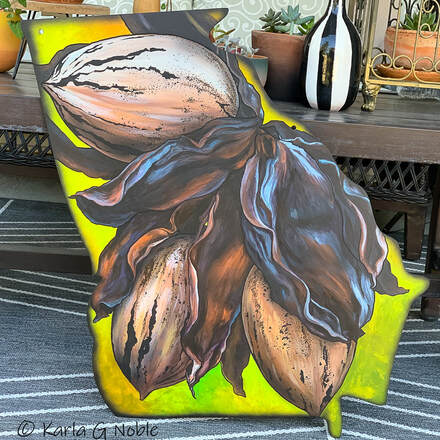
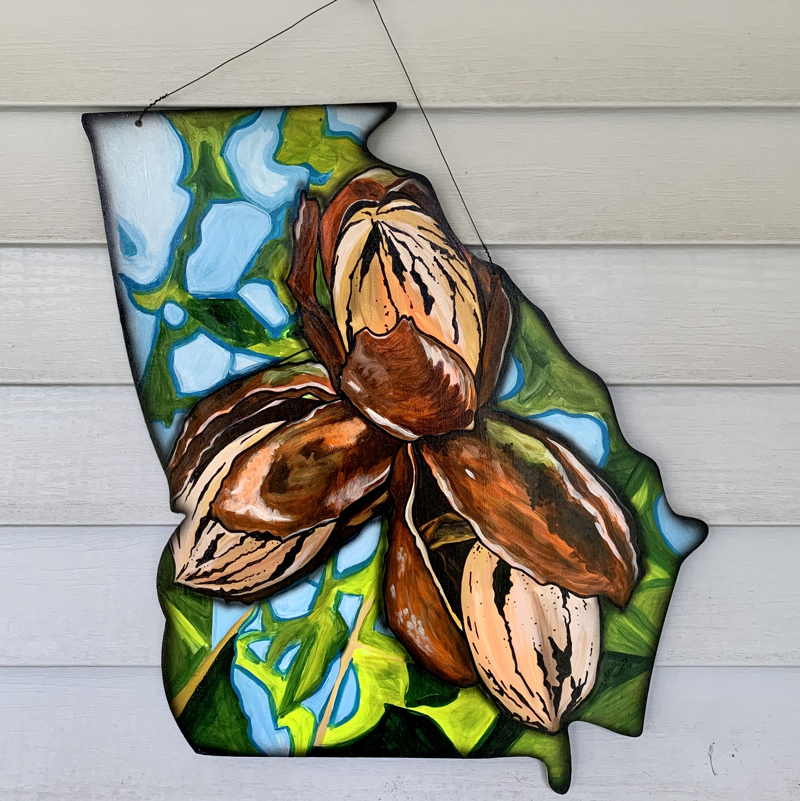
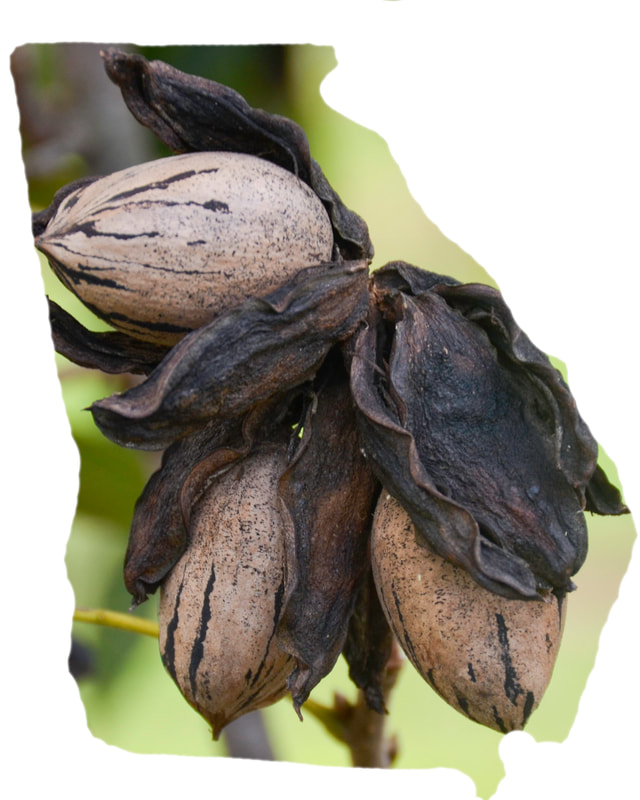
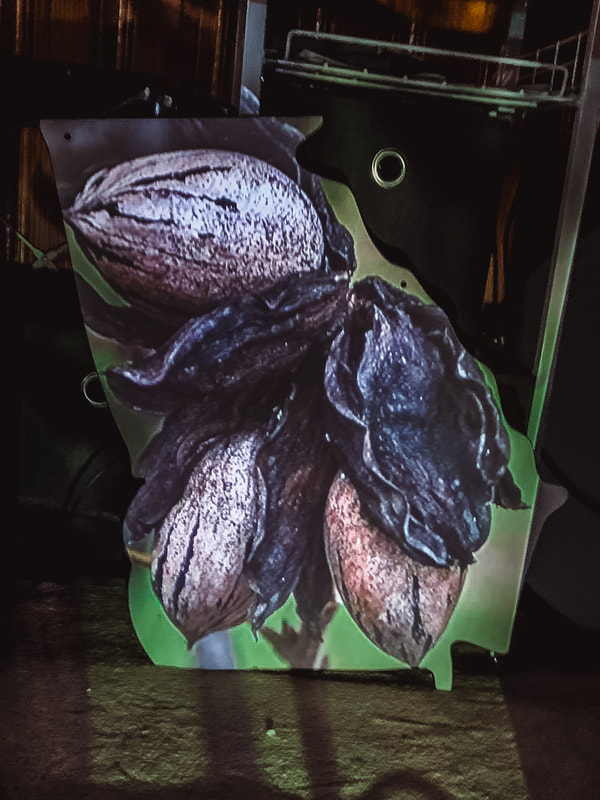
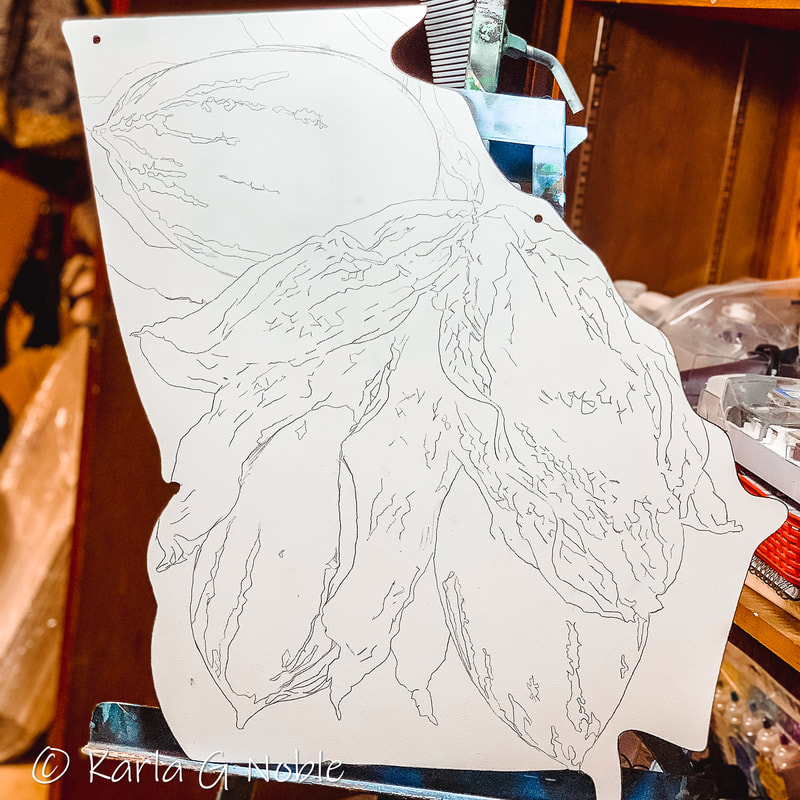
I painted these two Georgia Pecan door hangers a month apart. The one on the right was a lucky whim.. I wasn't sure how they would be received as door hanger art but I knew it was something I had not seen and that was my goal. Painting door hangers is a fun way to decompress. This time of the year I'm usually stressed out up to my ears in commissions. Due to Covid and the changes in our regular school holiday I was hesitant to take on commissions I would struggle to find time to finish. This way I can paint when I can and if I don't finish anything else between here and Christmas it's no big deal. Also why I haven't tried to presale the door hangers. As you will see if you read on life has a way of surprising you. From concept to paintingIt all started with all the positive affirmation I received after I posted the first door hanger. A day or two later I made up my mind and ordered 5 more blanks with the goal of painting them before Christmas. While waiting on my shipment I rode the golf cart to the nearest pecan field and took lots of pictures. When I got back I edited 50 images down to about 5 and picked the above to render in photoshop. When the blanks came in I spent about two days prepping them and I projected the chosen image onto the primed surface of the Georgia shape. I draw in most of the big shapes and dominant lines from the photo. Pencil marks stay visible on the paneling so I draw in a few more dark lines than I normally do on canvas. Voila.. its ready for paint
2 Comments
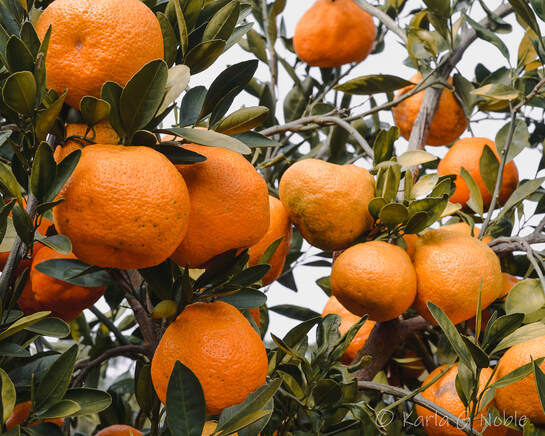
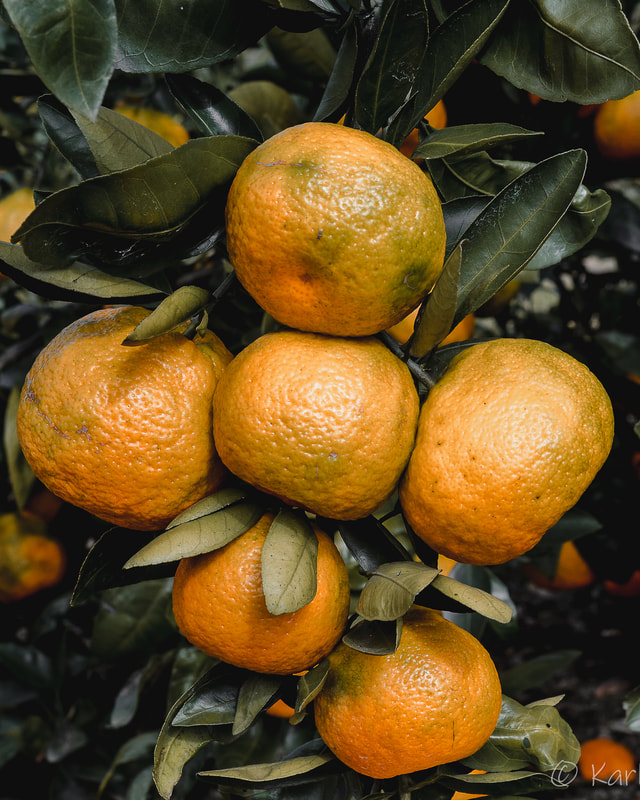
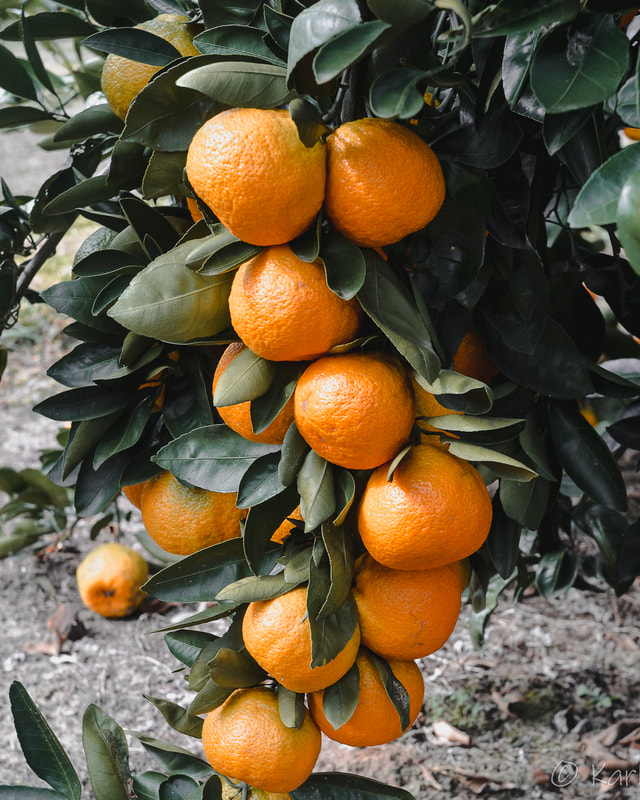
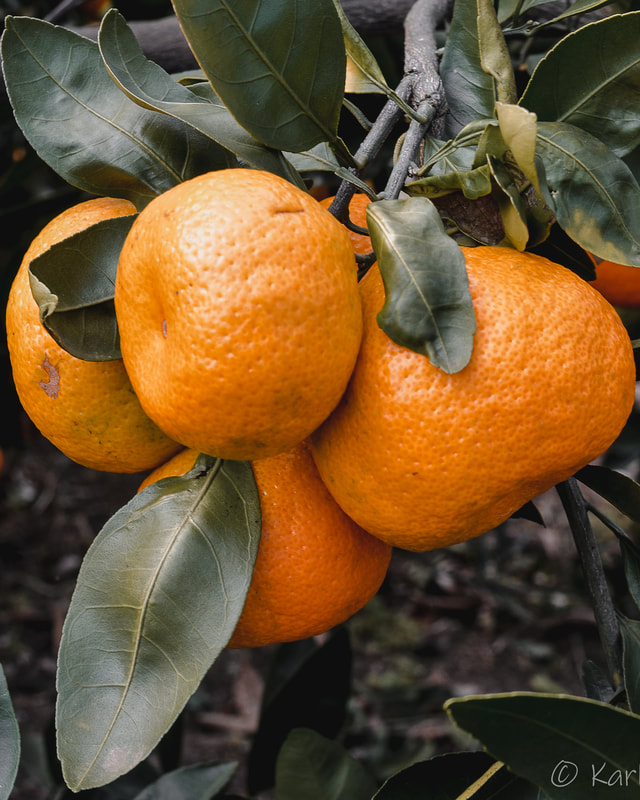
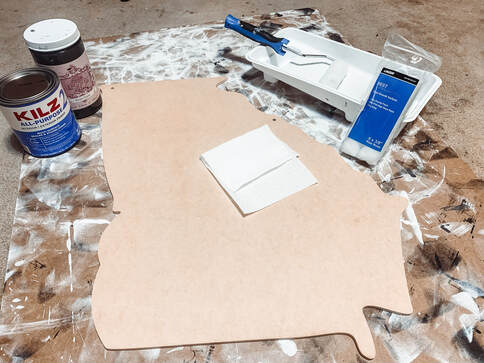
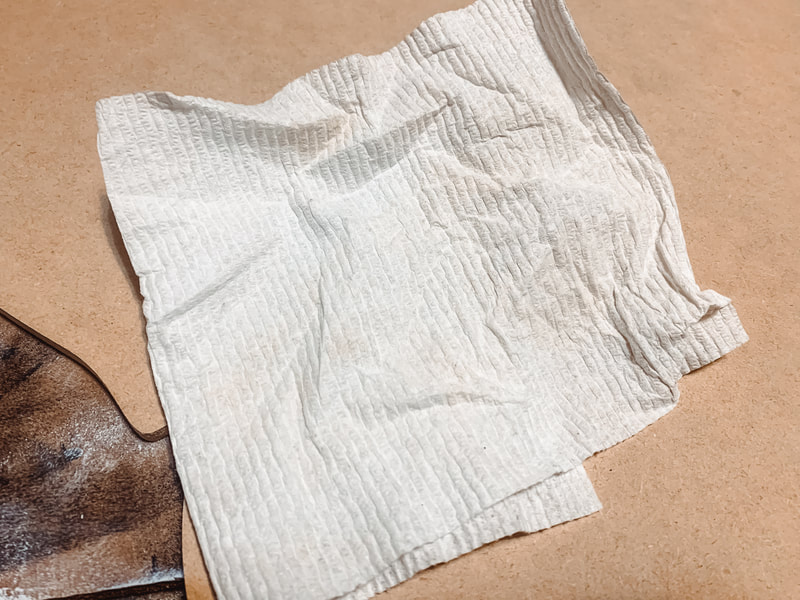
Move aside cotton fields, peanut bales and pecan trees there's a new agricultural muse in town! A short ride out side of Thomasville on a beautiful two lane country road in Ochlocknee Georgia sits a wonderful Citrus farm. I met owner Lindy Savelle several years ago when I joined a local running group and was introduced to the world of Citrus farming in Georgia. She spoke then of plans to open her farm to the public and I've excitedly watched her journey through social media. We showed up an hour too early (I should have checked the times) and our gracious hosts still allowed us to roam the groves. I managed to grab some awesome shots of what I hope to be many beautiful canvases in the near future while my son played hide and seek and drove all the tractors in the yard. Thank you JoNina Farm!This color palette! I have all the plans..This is truly a tell all expose.I've said it before but south Georgia heat and humidity is a beast, sometime even way into the winter. I treat all my outside projects like they will be used in the middle of July. After much experimentation I have come up with a method that's effective and fairly fast. Please note I do these in batches. This particular session I had 5 Georgia shapes, 2 mason jars and 2 back of trucks, all of which were at least 24" at their longest length. Step 1. Clean the boards. I only use a dry paper towel to dust each piece especially edges and crannies. If I was outside I would use compressed air but I'm working out of a spare room in the back. Dry clean I would not spray or use any damp method MDF will quickly absorb any liquids.
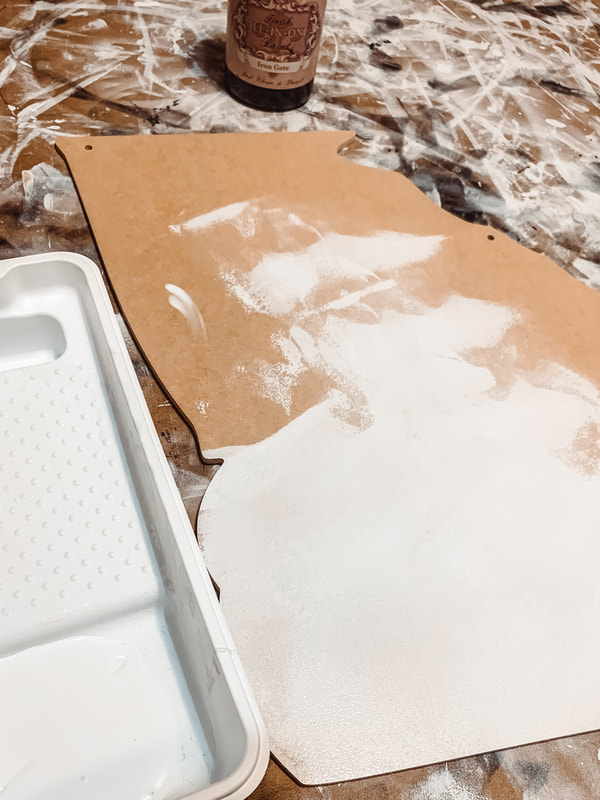
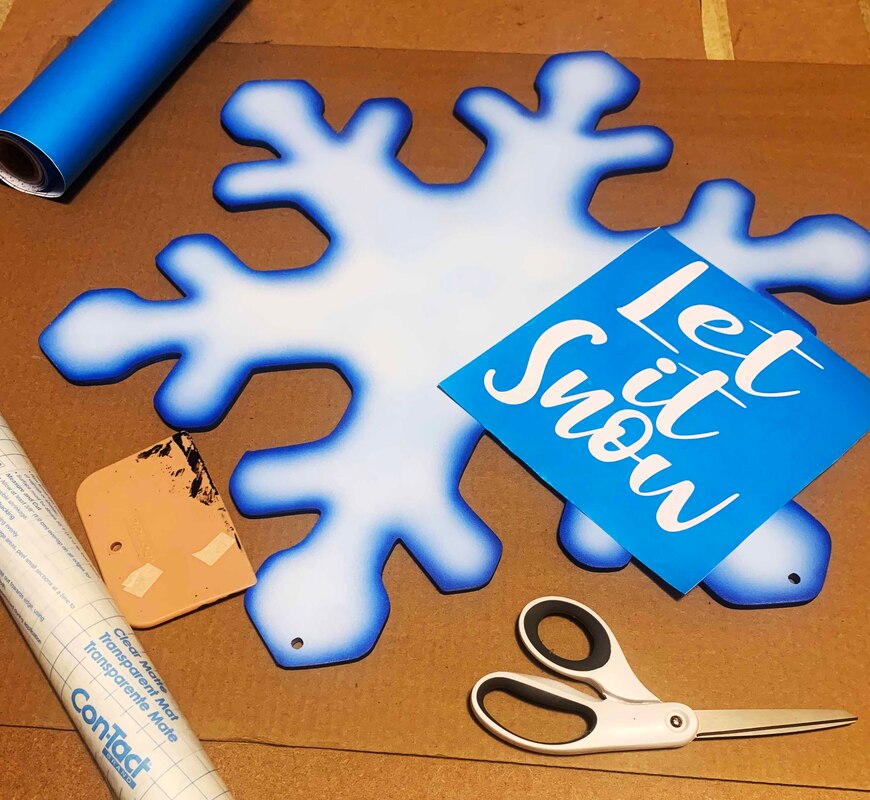
Step 2. Roll on primer. I'm using Kilz All Purpose here but any latex primer will work. I bought both the primer and the mini rollers on the same aisle at Walmart. Here in the sticks where I live our Walmart is circumcised compared to all the wonderful Super Walmart's out there so if we have it its safe to say all Walmart have them. My process for originals starts with a truck and usually a dirt road. I grew up in very rural South Georgia so most of my memories consist of wild flowers, muddy ponds, fishing, picking blackberries and red clay roads. I find that I'm inspired by these memories and the focus of my photography is close ups of south Georgia life. So when we ride I bring my camera. We live in town now; I'm a country girl turned city girl. But this city has a population of about 5,000 and there's a pecan field a short walk away. In our free time we love to fish. Instead of picking berries now I'm trying to set up the perfect shot. 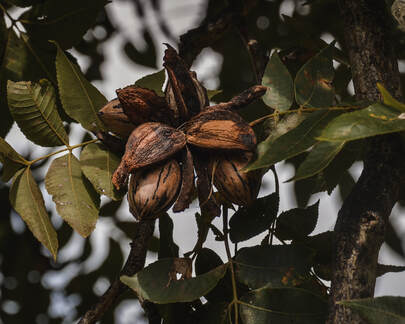 Pecans are significant subject in my art. I spent most of my childhood picking pecans, shelling pecans or running through pecan fields. I worked briefly in my early 20s for a professional photographer. There I learned about levels and curves and I've always edited my own photos. My style has definitely evolved since I started painting from my own reference photos. 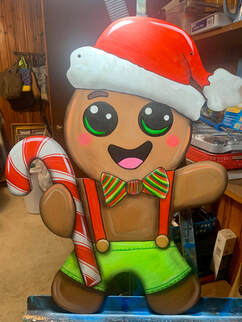 Common newbie questions: "what do I do now", "do I seal it?", "how?", "how do I hang it" etc etc etc... I'll try to break down my process and hopefully answer these plus a few extra tips. FYI my knowledge is from a combination of experience in painting on a range of material and working in custom framing while in college. Here's my Snazzy Gingerbread waiting to go hang out on someone's door. I started this process by checking to see if I needed to fix anything. I like to wait a day or two from finishing the actual painting and then come back with fresh eyes. Which is when I noticed his eyes needed to be touched up. I had used a marker to out line and it didn't blend in well with the paint so I used my darkest black and repainted the eyes and mouth. Tip #1 Not all paint colors are created equal.... They vary due to brand, type, name etc... Mars Black and Ivory black are the two most common names I've seen but recently I've found a permanent Black in Master's touch acrylic line (Hobby Lobby's house brand) that is way dark. New favorite. I also touched up the edges were the primer was showing. I'll show later in another blog post how I start the door hangers. They come to me as plain MDF cutouts. I coat the backs and edges first with a special black paint and then roll on a primer on the fronts. My goal is to seal the MDF as well as possible since its so vulnerable to moisture. I only touch up the edges were the front is dark so I did not go around the hat. Why not the whole thing? Because I'm prone to booboos and the red and white hat is not as forgiving as the rest of the gingerbread man. Maybe it was art school... Maybe growing up in south Georgia The first time I did a stencil on a door hanger it was awful. It was a gorgeous mason jar hanger. It WAS painted and airbrushed to perfection. I was in love. I had left over cheap vinyl and used my cameo to cut the stencil. When I started to peel the vinyl off not only did I have bleeds... it lifted in little spots allllll over. So I tried to order some Oracal Stencil Vinyl but there was several different types. I wanted a low tack stencil I could use on door hangers but since I airbrush I wanted it to be flexible enough I could use it on non flat surfaces. Sometime Stencil material is stiff or plastic like which would not have as many uses for me personally. I ended up with an off brand Masking Film from amazon that has been fairly reliable. It was a blind buy but I was lucky this time. I made up a design using the Silhouette Studio and cut with my older Cameo 2. Easy so far. Next I cut out some contact paper the size of my stencil. After lots of research including multiple Q&A on Facebook groups I have come to the conclusion: I must Blog. Not because I have some pressing ideas to share or agenda and definitely not for online fame or attention. Turns out blogging is a real viable way to increase an online presence and build your "brand".
Brand- that's a concept I'm still working through. I've worked out calling myself an Artist, but now I'm also a Brand? Or is my work the Brand? If this is truly a blog about Tips and tricks then I won't be coy or modest... as the artist you are the Brand. Art sells because buyers like the artist. Read any advice column and they will say to Tell your story. This effort in Blogging increases my online presence, it also increases the connection with my audience. And the end result is to sell more art. So tip #1. Make friends with your audience. I'm a situational extrovert. Basically I would rather be at home in my studio arting than I would be in a crowd. But I can do it.. I can talk in front of an audience. I can make my voice heard but its not my favorite. I've adapted as I've grown older because well I have always had to work. Waiting tables helped my fear of talking to people, teaching aerobic classes helped me talk to crowds which lead to me talking to large groups about health and fitness and later about art. That's a long way of saying now at 36 I'm more comfortable with my own art audience. In my 20s it terrified me to promote myself or to even introduce myself. Now I probably share a little too much. I don't consider myself super successful but I do sell regularly. I went through a long spell of not really painting and I was known around town as the fitness girl (I managed a gym). A friend asked me to paint a pet portrait for her husband and she posted the video of him opening his present a couple of days after Christmas. That one tagged post on Facebook jumpstarted the past 5 years and lead to my current job as an elementary art teacher, art advocate, and artist. Tip #2 Start with Family and Friends. I gift so many portraits and other work. And it is all worth it. Their pictures and shares on social media extends my reach more than any paid advertisement. I've seen other artist complain about family and friends asking for discounts or handouts.. that is different. Gifts are a personal choice from the heart... I give because I enjoy doing it. But I'm not rich and art is a legitimate business for me. It's my car payment and hopefully new kitchen floors after the Christmas season. Its how I continue my education and buy more equipment. Boundaries have to be set and I still struggle with being a people pleaser too. Tip #3 Learn to say no.. it has taken me years of over scheduling myself and losing money and I still struggle! Its so hard!! And I'm still making the same mistakes but well I'm a work in progress so..... there's that Thanks for coming to my Ted Talk! Hopefully these will get better! |
Karla NobleAlmost 20 years of art success and struggles now in writing for your reading pleasure. Archives
January 2024
Categories |

 RSS Feed