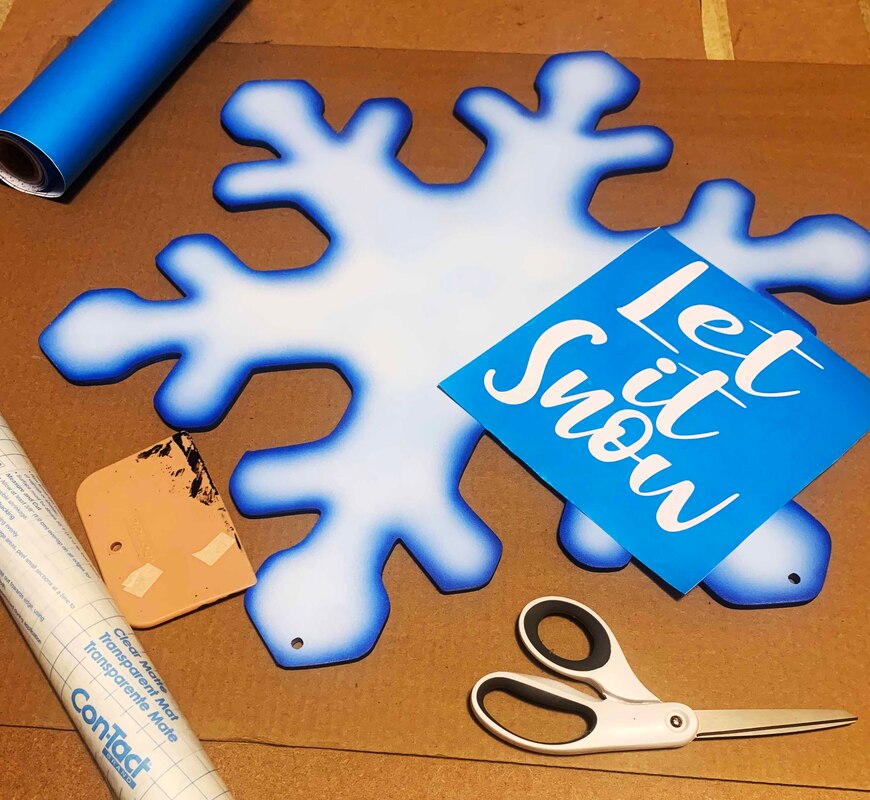
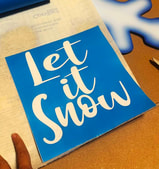
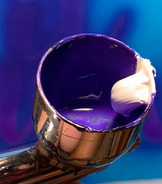
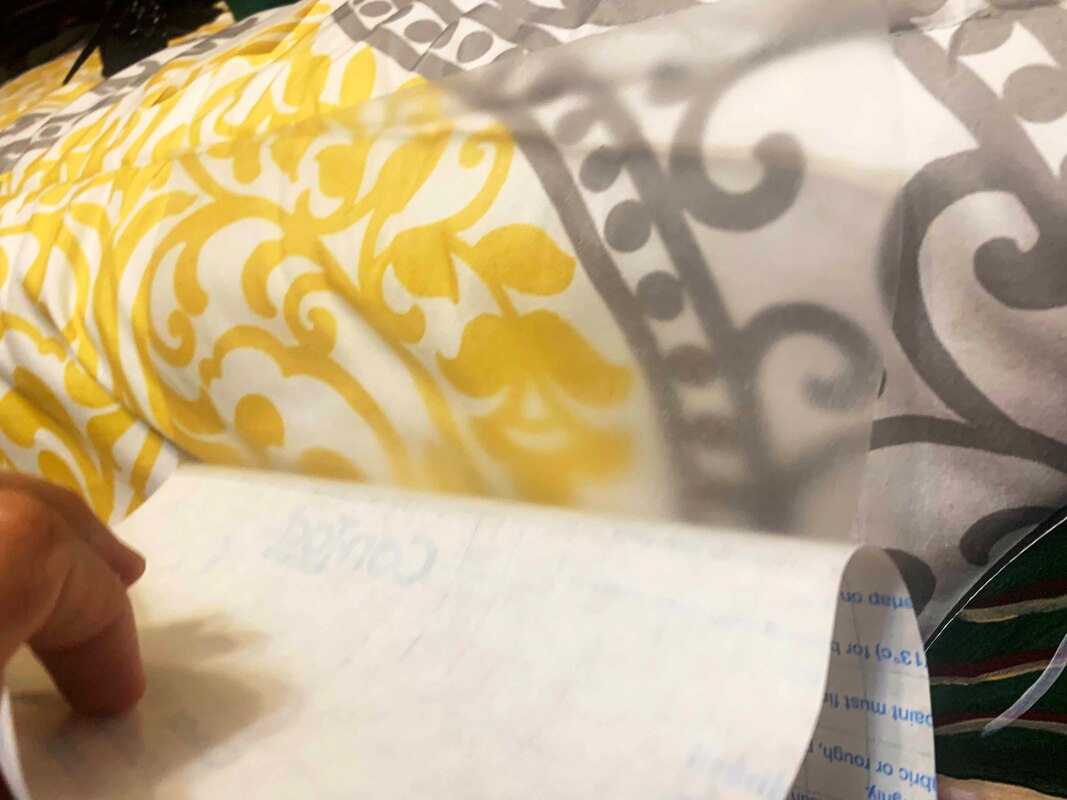
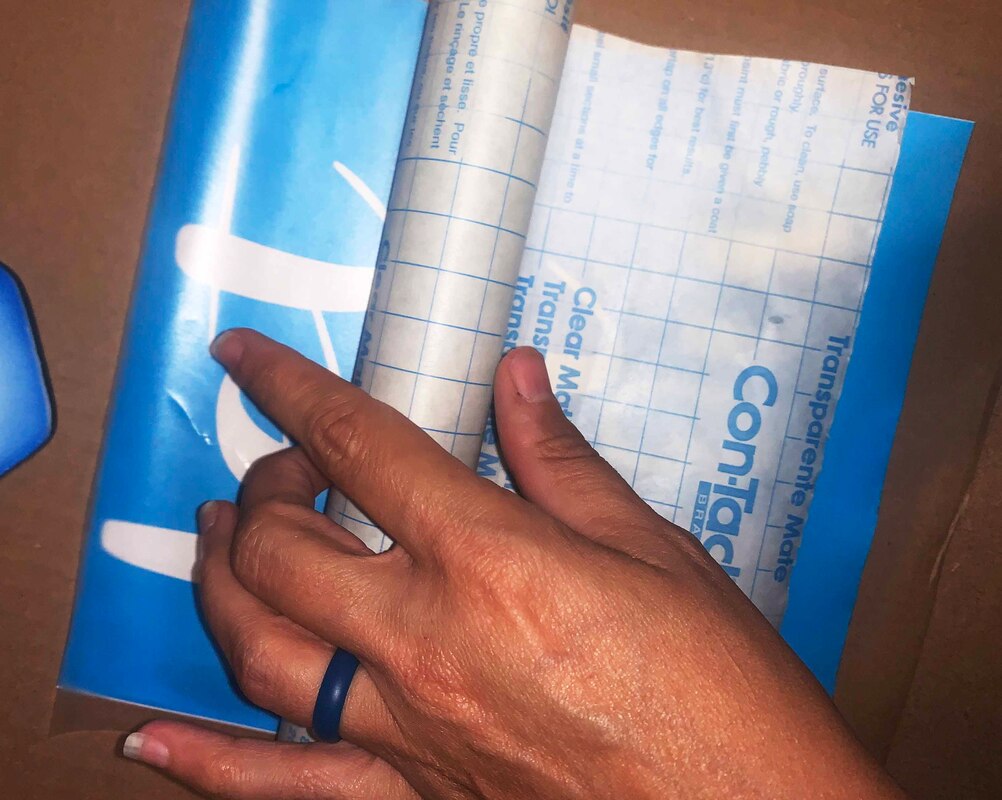
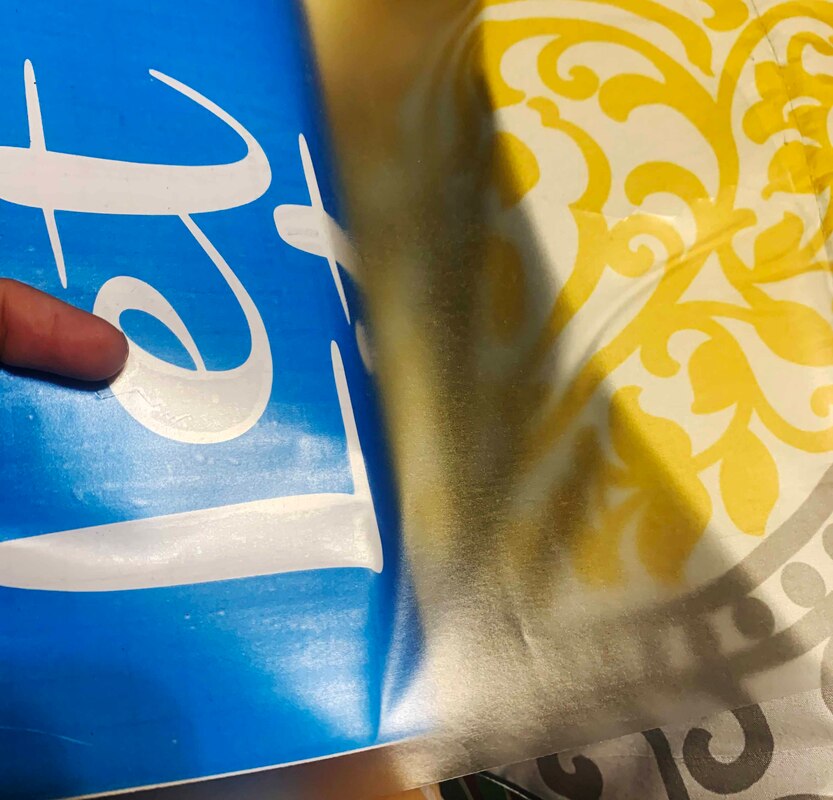
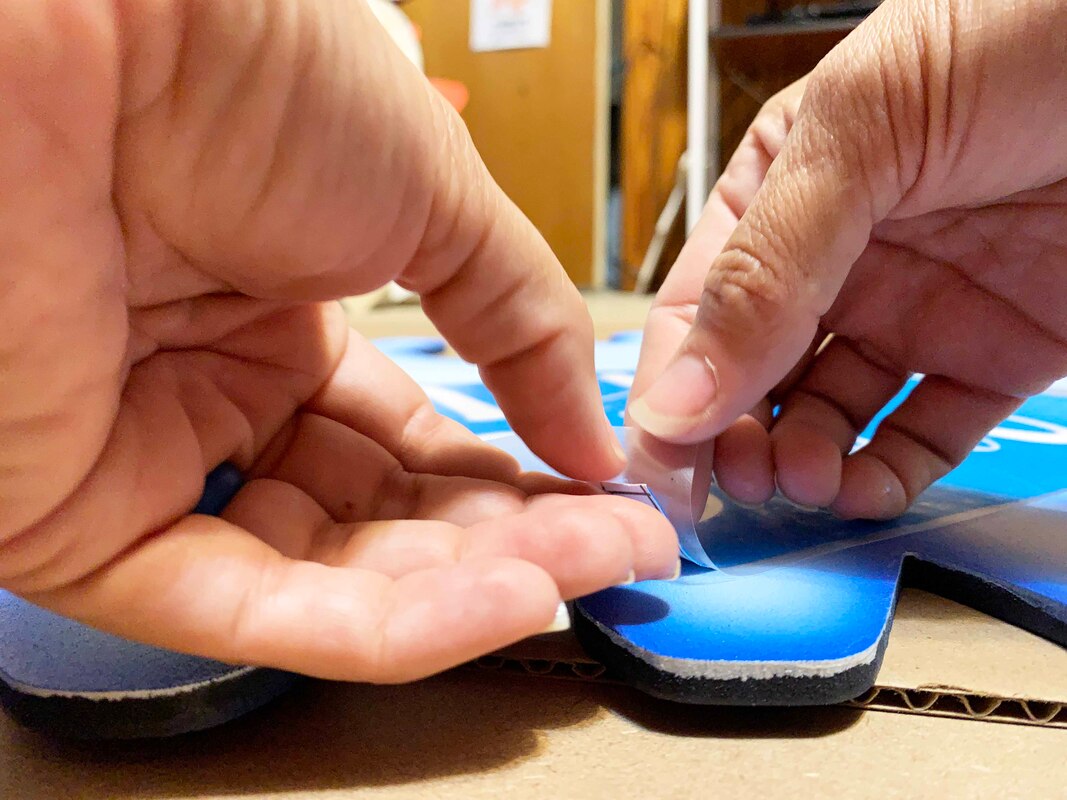
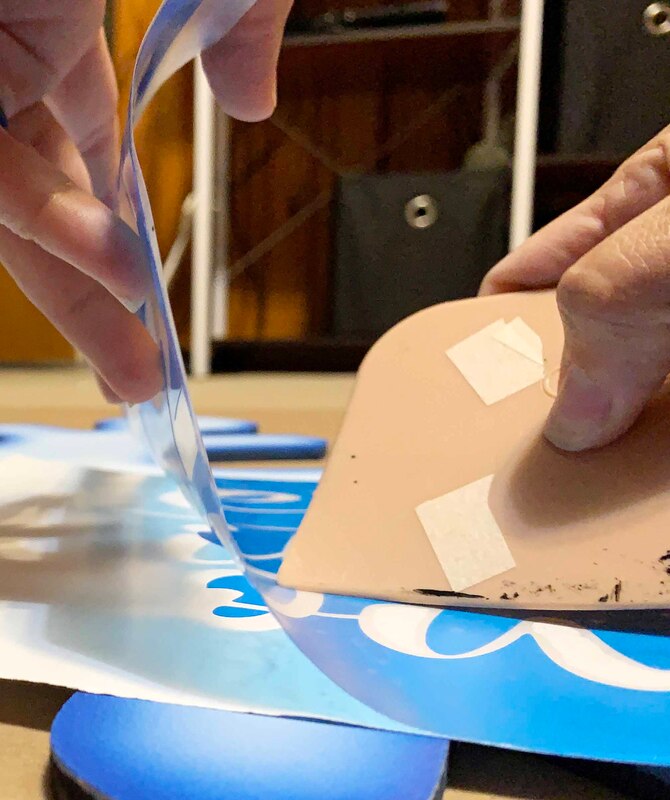
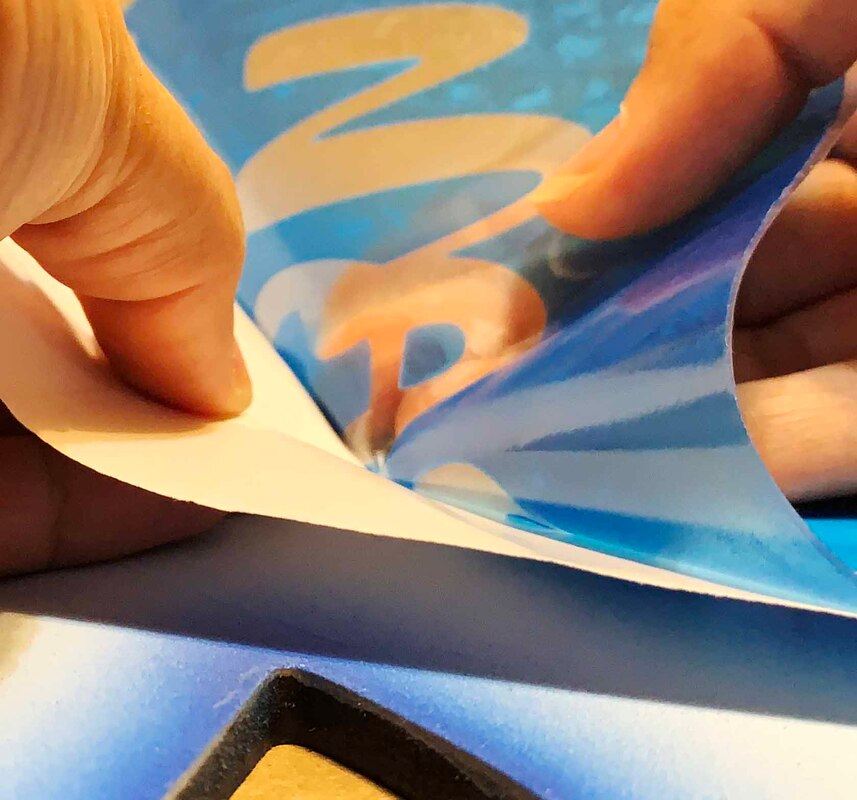
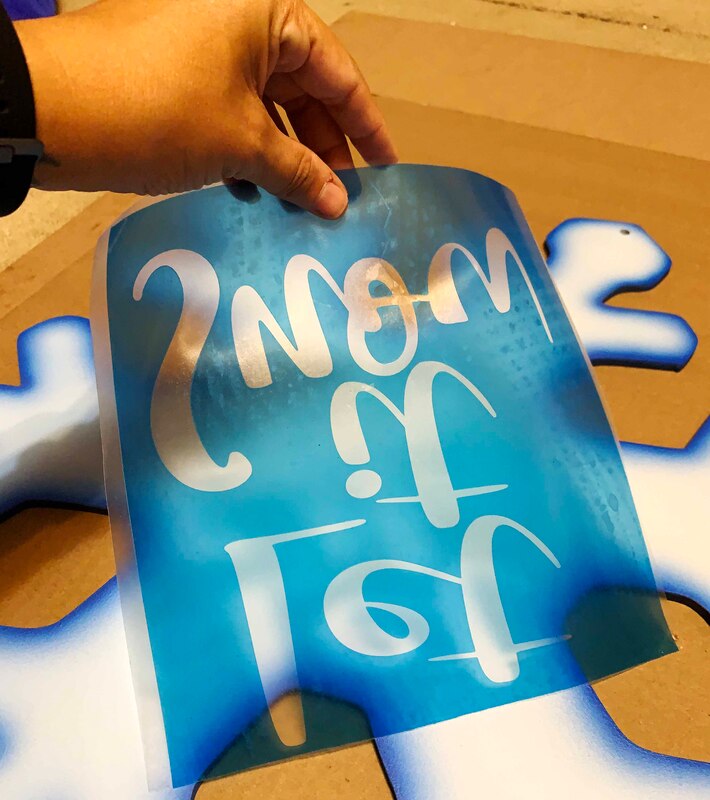
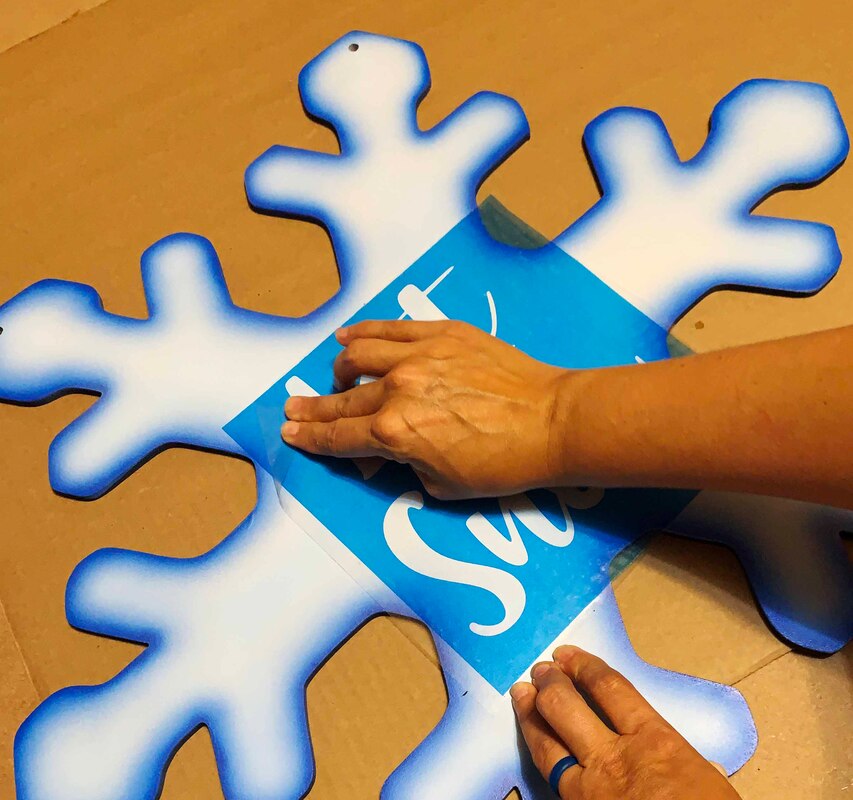
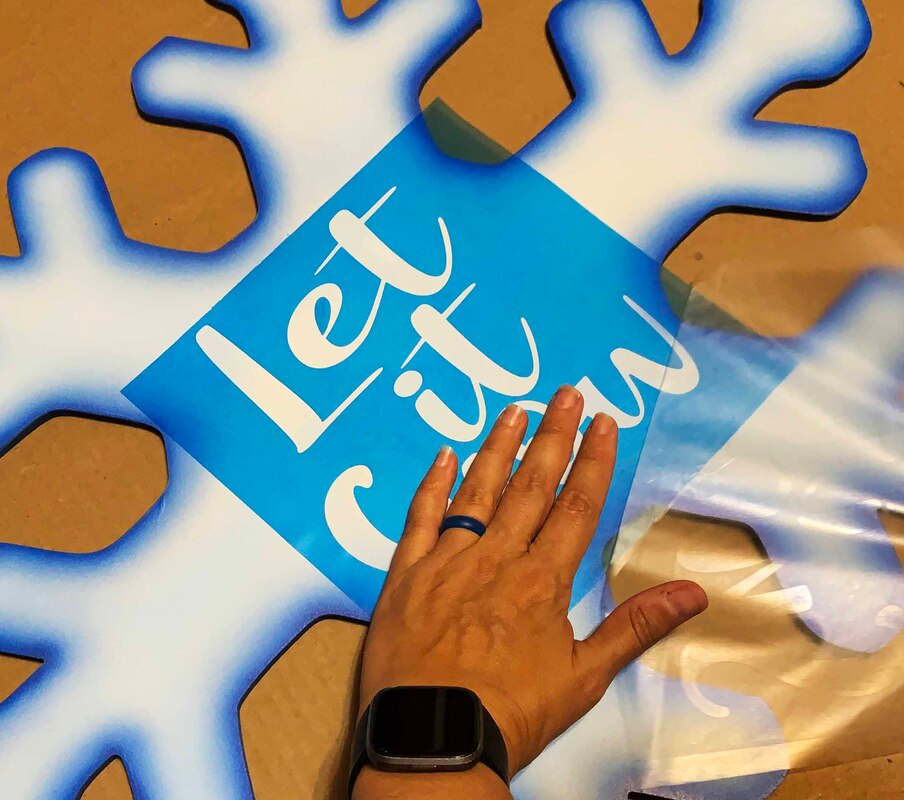
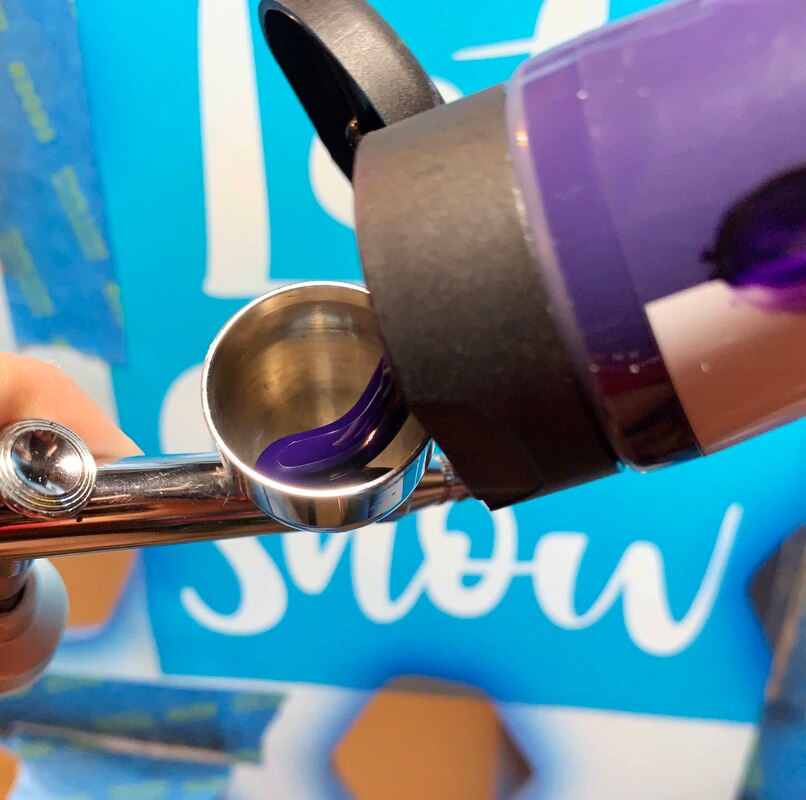
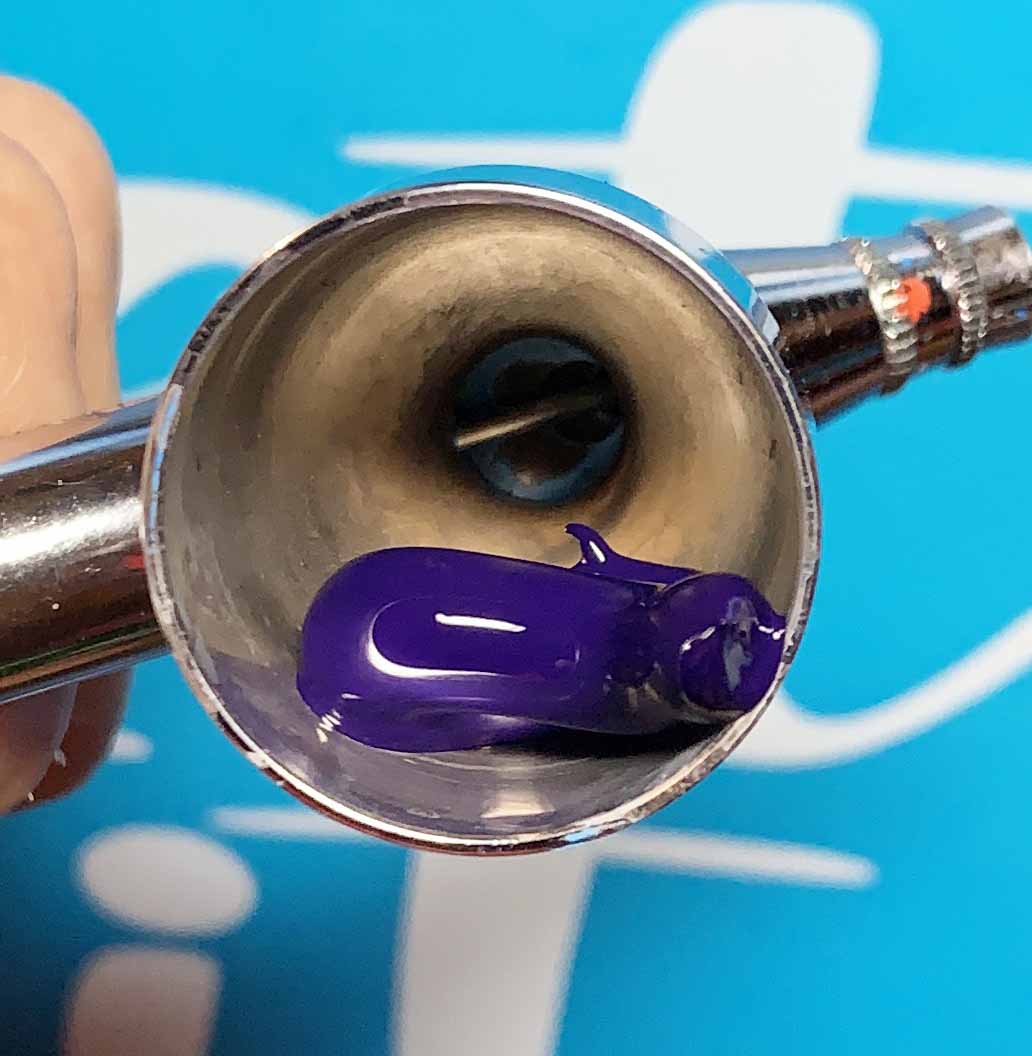
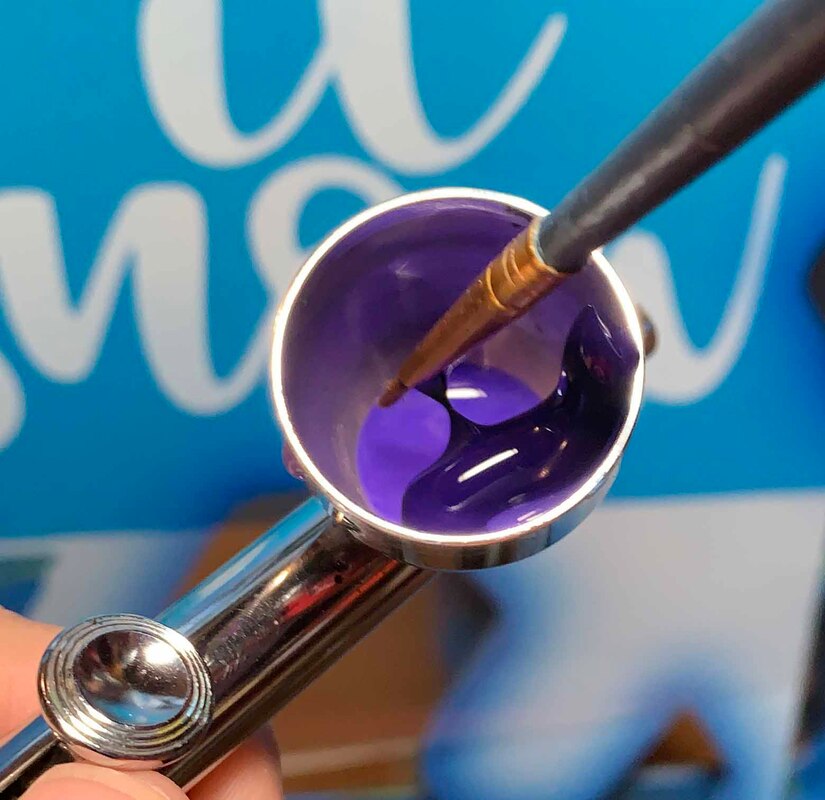
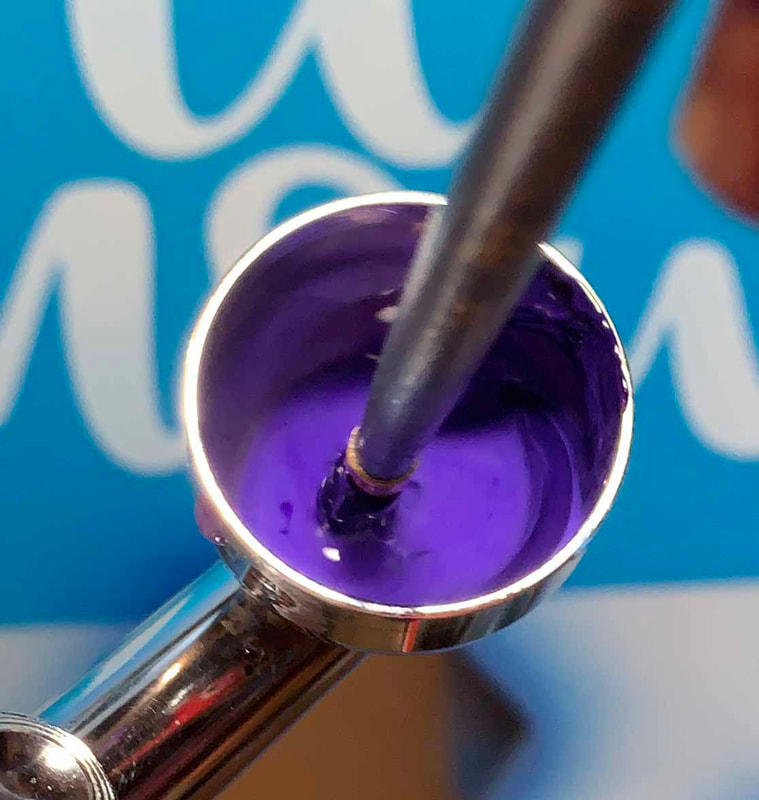
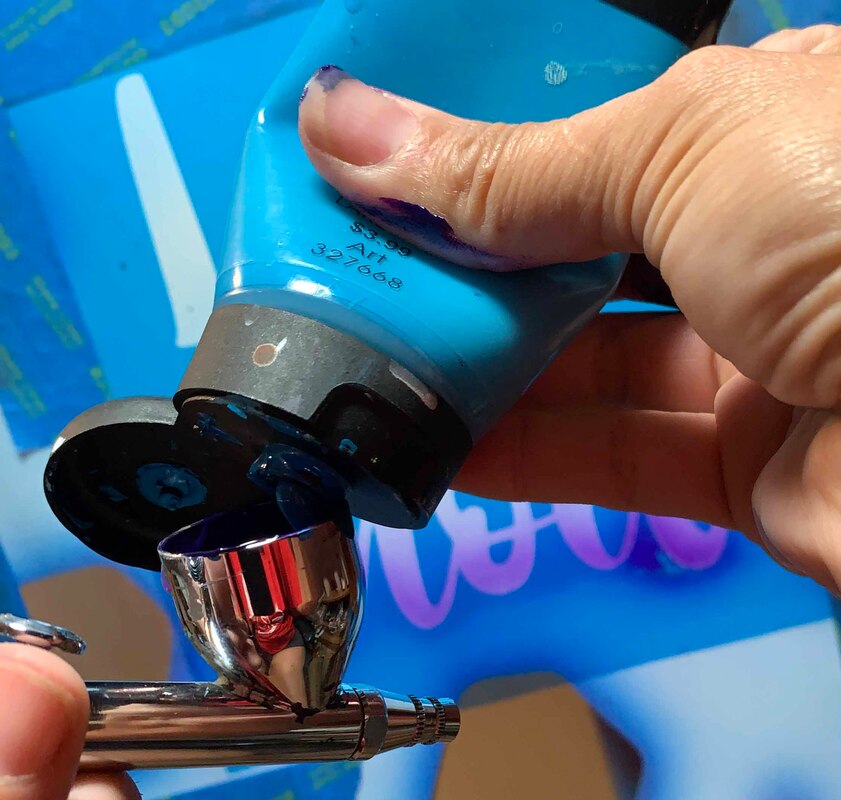
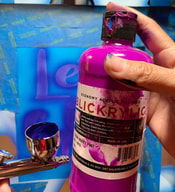
  The first time I did a stencil on a door hanger it was awful. It was a gorgeous mason jar hanger. It WAS painted and airbrushed to perfection. I was in love. I had left over cheap vinyl and used my cameo to cut the stencil. When I started to peel the vinyl off not only did I have bleeds... it lifted in little spots allllll over. So I tried to order some Oracal Stencil Vinyl but there was several different types. I wanted a low tack stencil I could use on door hangers but since I airbrush I wanted it to be flexible enough I could use it on non flat surfaces. Sometime Stencil material is stiff or plastic like which would not have as many uses for me personally. I ended up with an off brand Masking Film from amazon that has been fairly reliable. It was a blind buy but I was lucky this time. I made up a design using the Silhouette Studio and cut with my older Cameo 2. Easy so far. Next I cut out some contact paper the size of my stencil. Once the contact paper is ready I used the comforter on the bed to remove some of the tackiness. My work space is in my guest bed room sooo... you know just use what you have on hand. I do it half and half to prevent it from sticking to itself and creating a hot mess. 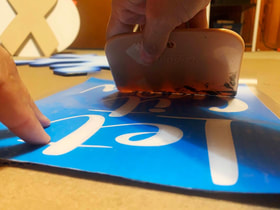 This stuff seems kind of common sense but I assure you I make a ton of mistakes because I rush things. Onward... I use a bondo spreader (available in the car paint section) to smooth out bubbles and to make sure the contact paper has a grip on the stencil.. There's a weird balance of too much sticky and not enough. When something doesn't lift try to use your fingers to peel it off the white backing and attach it to the contact paper before you fully remove the stencil. I center up the Stencil and using the bondo spreader I apply pressure evenly to help it adhere to the surface. Especially the small pieces in the cutouts.. they tend to be problematic but like before just take a little time to make sure they are on the door hanger before fully removing the contact paper. 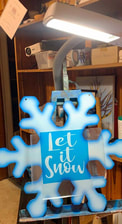 I cut the contact paper into strips to mask off more of the snowflakes because over spray is a pain and I hate to waste. If I was doing other stencils I would use it several more times but tonight my goal was to do this blog and not major production. I use a low tack painters tape to mask off a little bit more. It is also used multiple times I stick it to the bookcase beside me until I need it again. The easel is a more ideal set up then the floor and I prefer to work vertical. I love my Ott light the lighting in this room is in desperate need of updating. I have been favoring my Iwata Eclipse HP-CS lately for this smaller work. I've been airbrushing since I was 21 though I'm no expert its usually hit or miss for me. I also do a lot of things I'm sure other artist would be appalled by.. like mixing my paint in the cup. Here's a few tips from my trails and errors. 1. Try not to use "craft paints" they tend to dry faster and gum up the gun which leads to extra cleaning and lots of tears. 2. lay the paint to the side of the cup instead of the bottom I add a little water and use a small paint brush to stir. You just want it a little thin not runny.. I was too busy trying to take a good picture so this first batch was too watery.. but I just kinda ran with it. 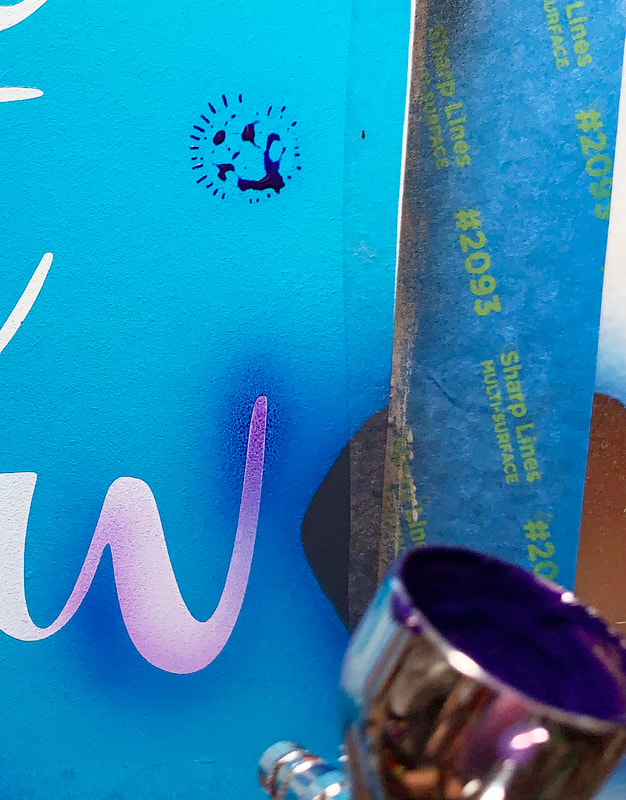 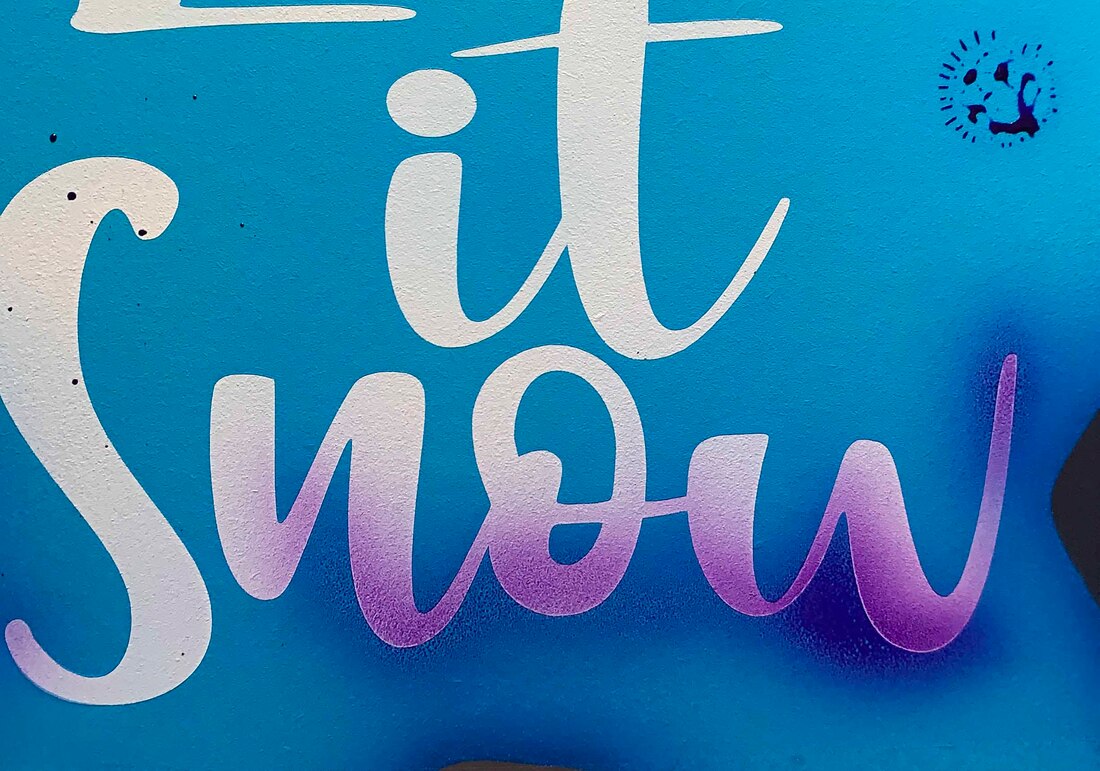 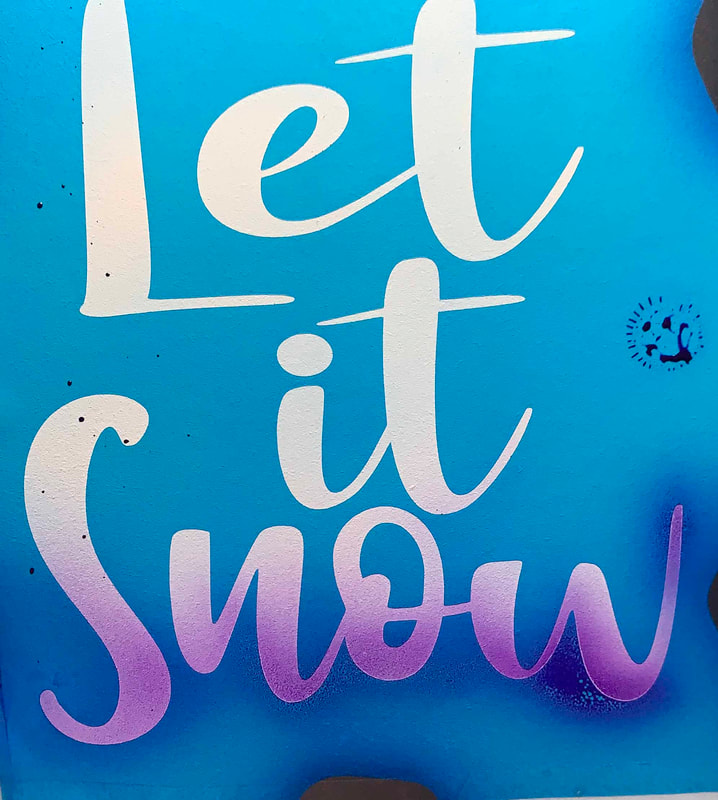 Which caused some beading up and not so good stuff... this is the beginning of more bad decisions to redeem myself from the last bad idea... I decided to add more color to thicken it up some.
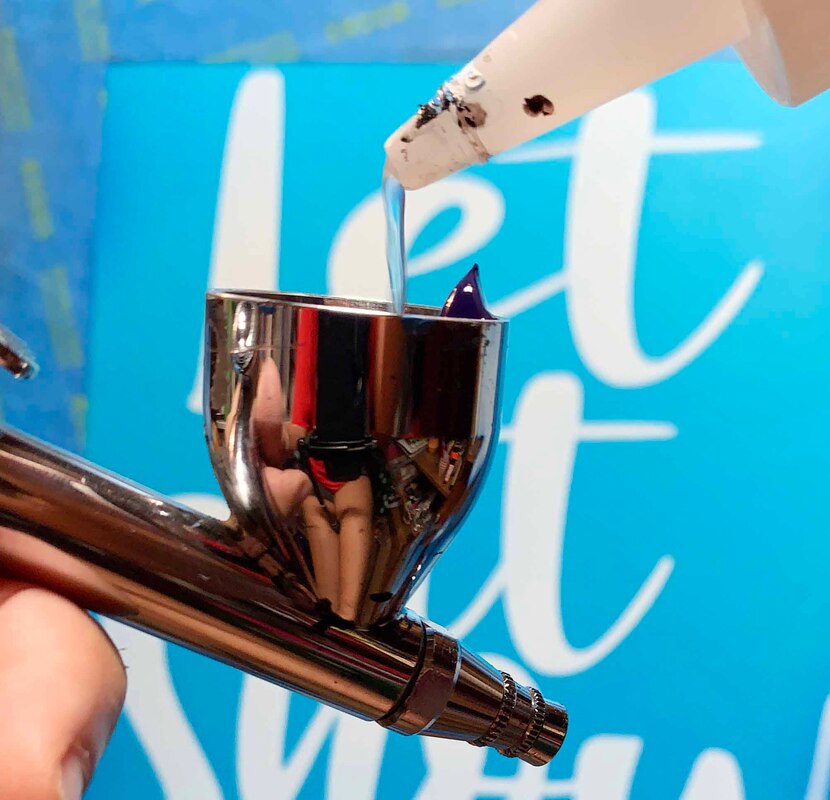
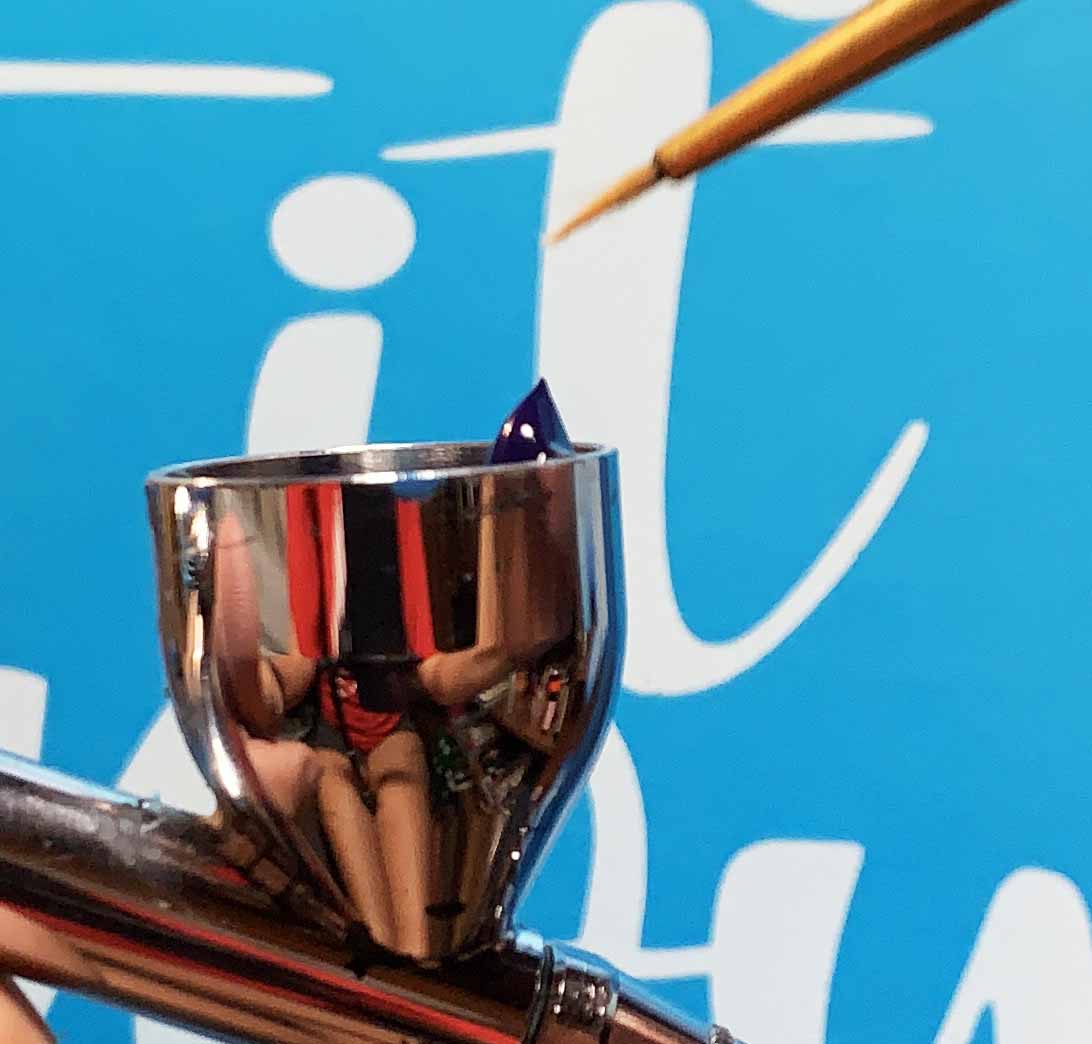
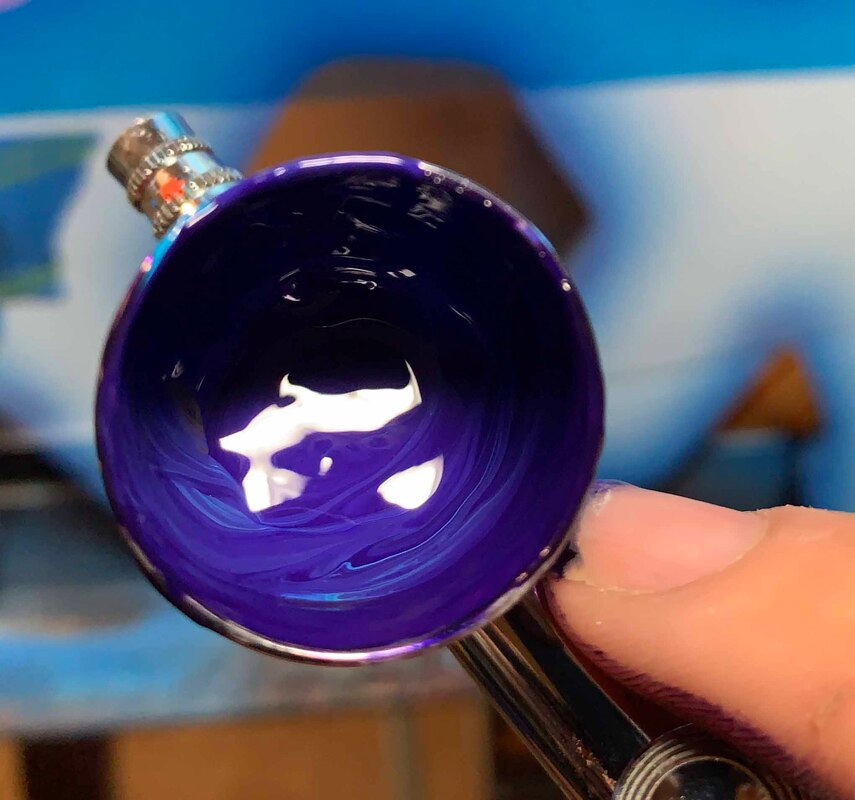
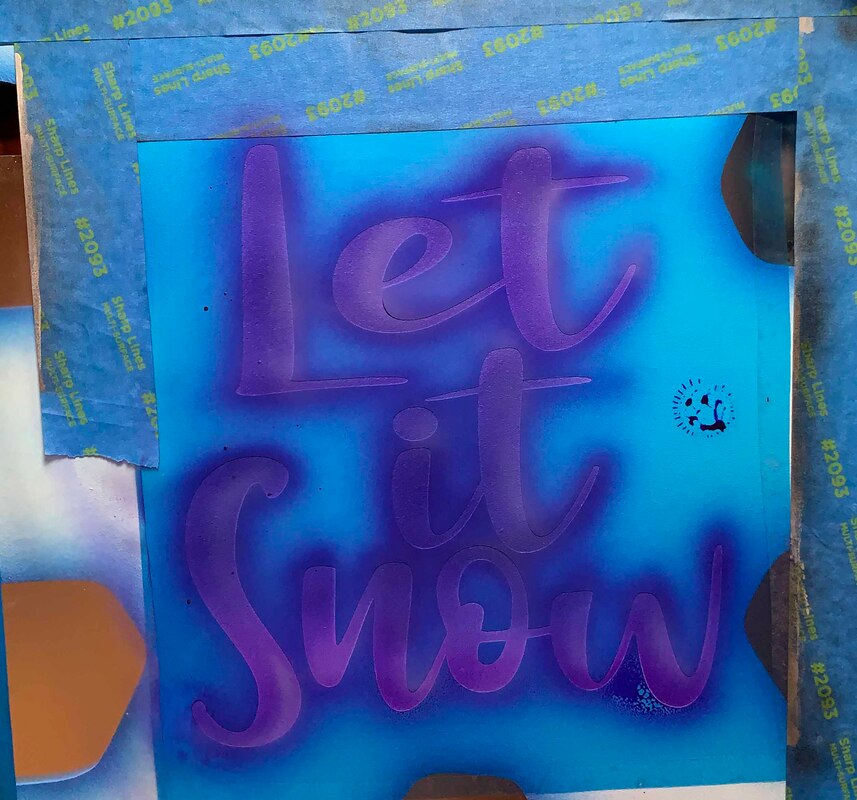
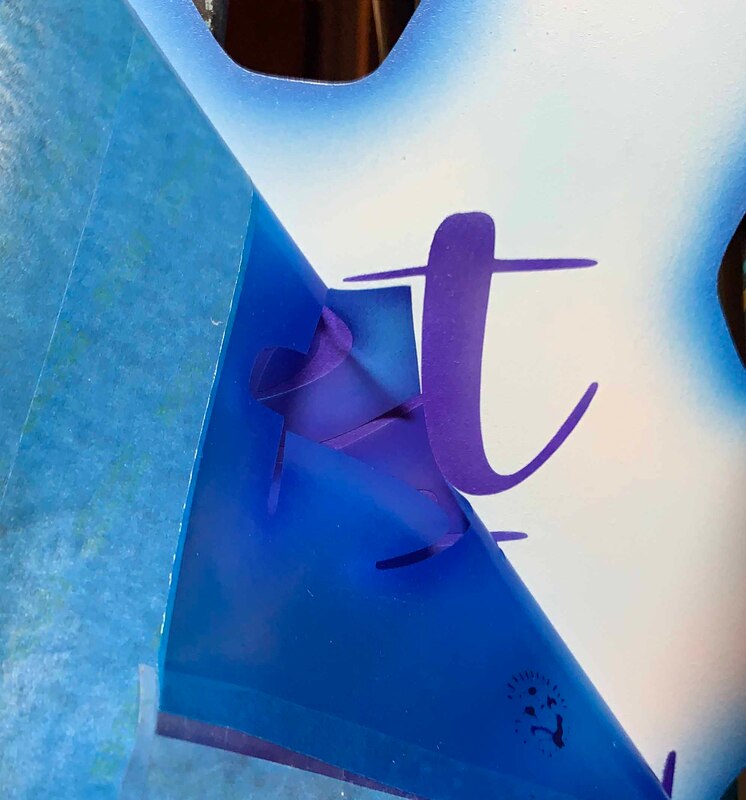
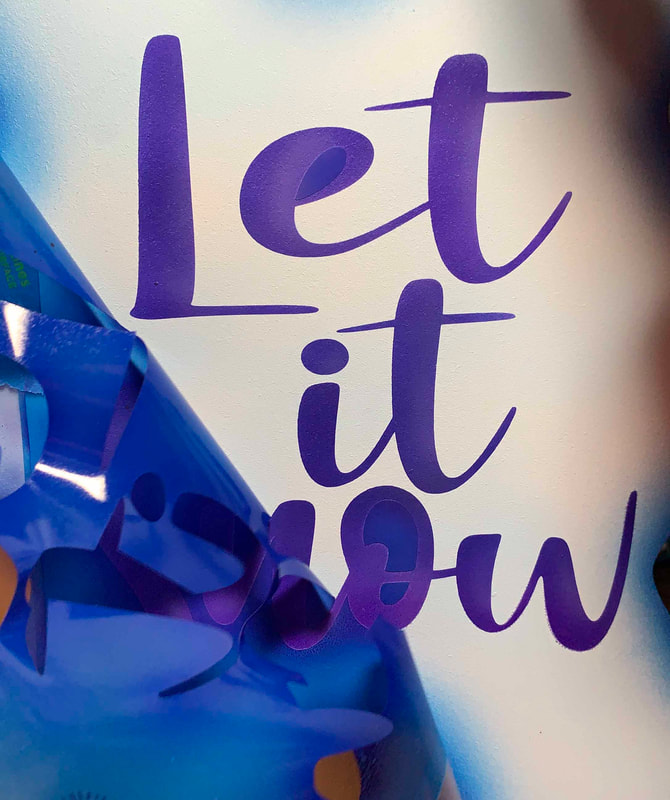
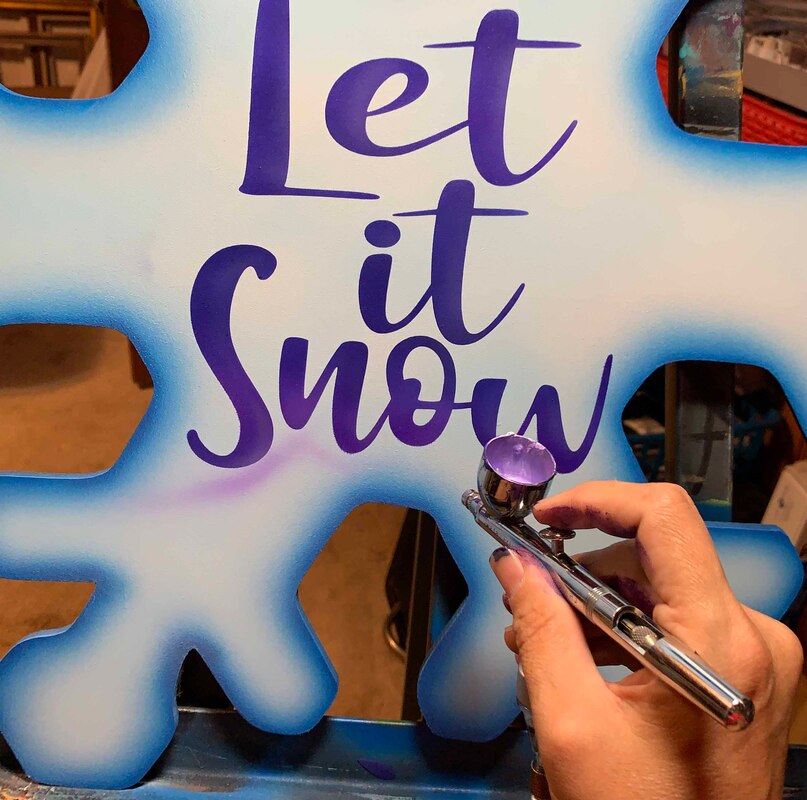
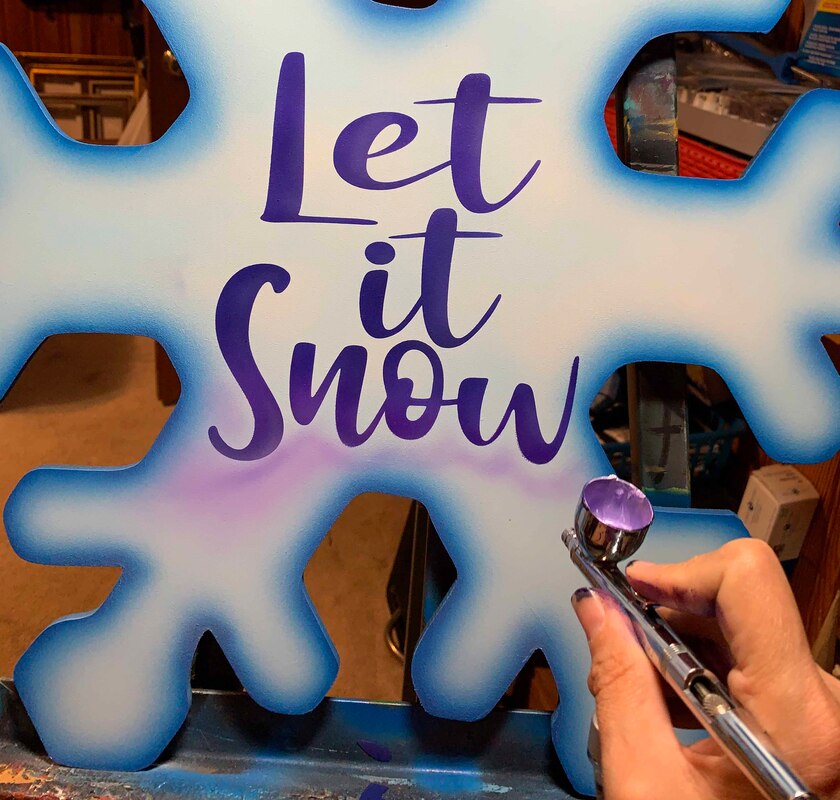
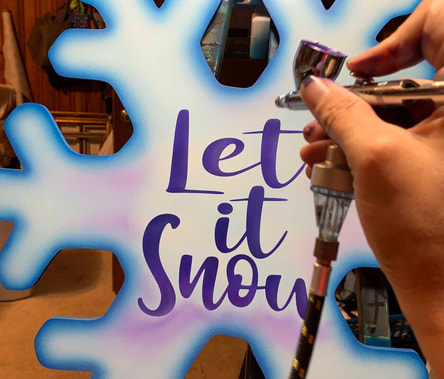
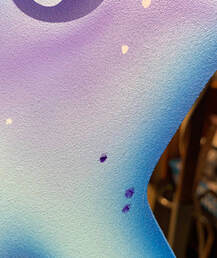
 then I was like white.. that should help... so I dumped out the above mixture and added the white... I dump out the paint on a plate because I hate the waste and this time it worked... I use it later down the line. I also added a little more water here. White is inherently thick and will sputter in your gun if not thinned properly. 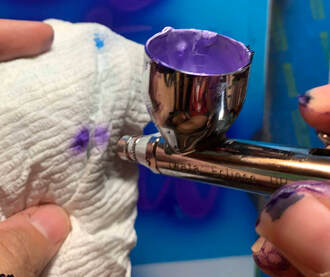 Tip # 3... blow out the last color into a paper towel before you go back to your painting. There's a lot of paint still in the brush if you don't wash between colors... like me. 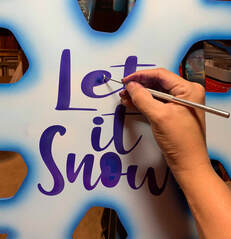 At this point I was just done and I went ahead and peeled the stencil off. With airbrushing there's very little wait time. The purple ended up being a good choice so right here I'm feeling good again. there was a tiny bit of bleed from that first wet coat of paint so I decided to add some back ground flair... big mistake.. I hated it...
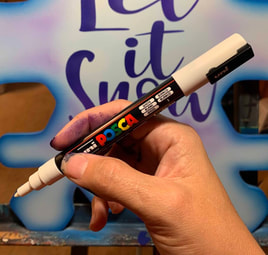
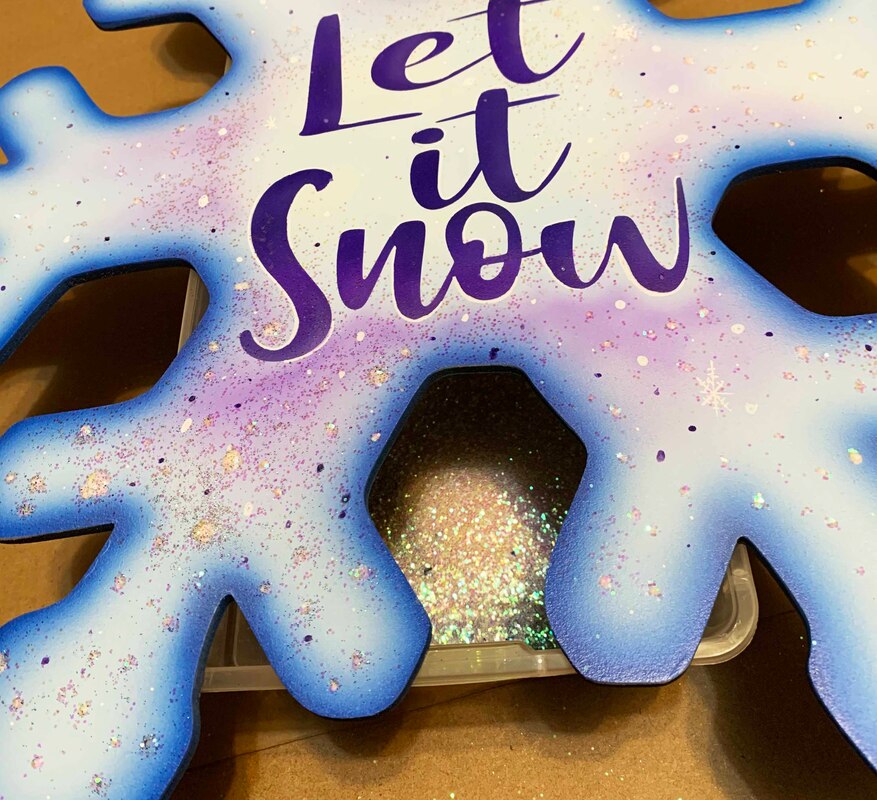
To save it I thought maybe to go all the way around the door hanger and then to add dots for some visual interest with my new Uni POSCA marker. Notice in the marker picture I have managed to get pretty dirty.. Tip # 4 Wash your hand before touching your door hanger.
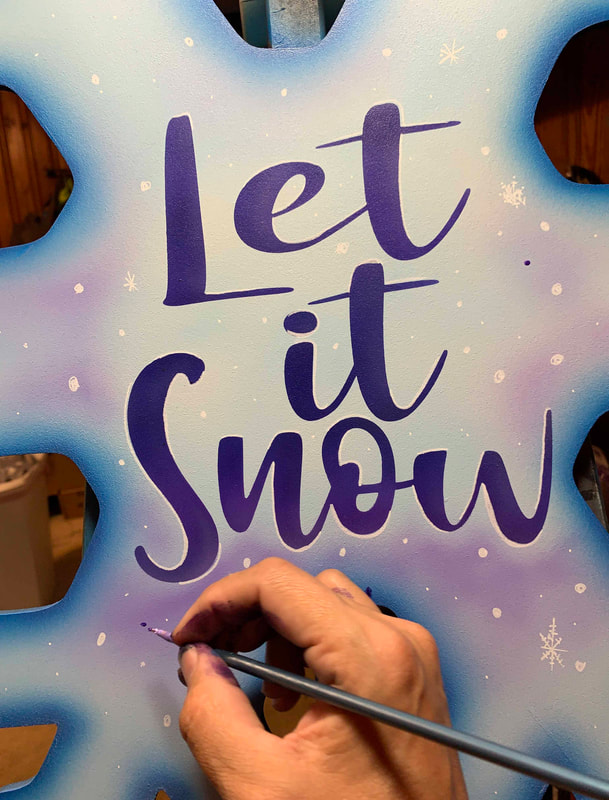
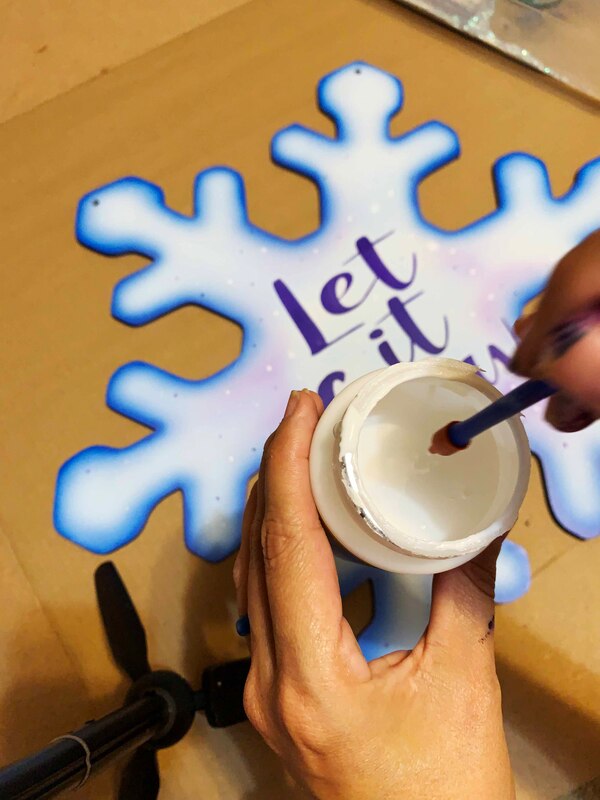
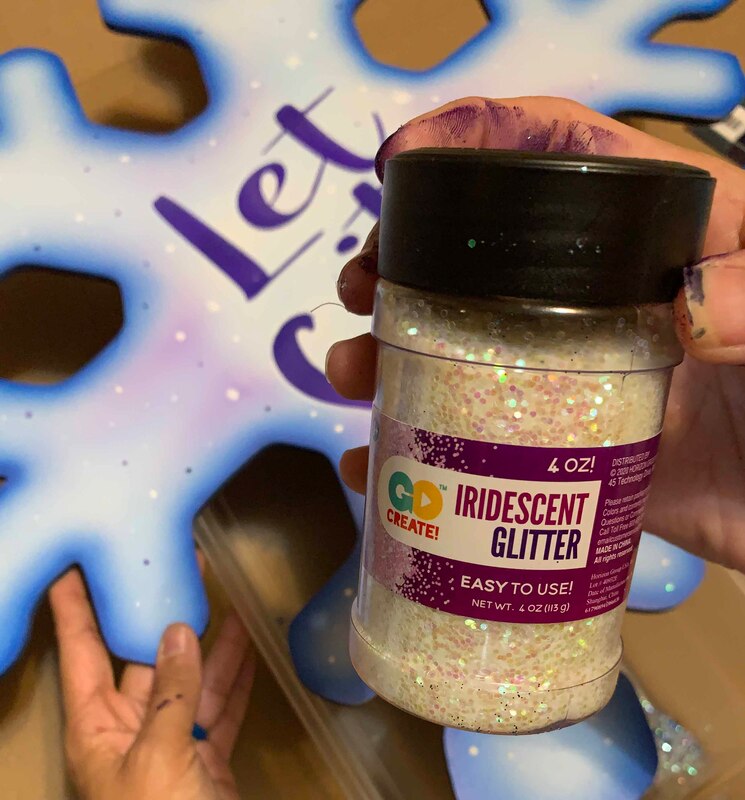
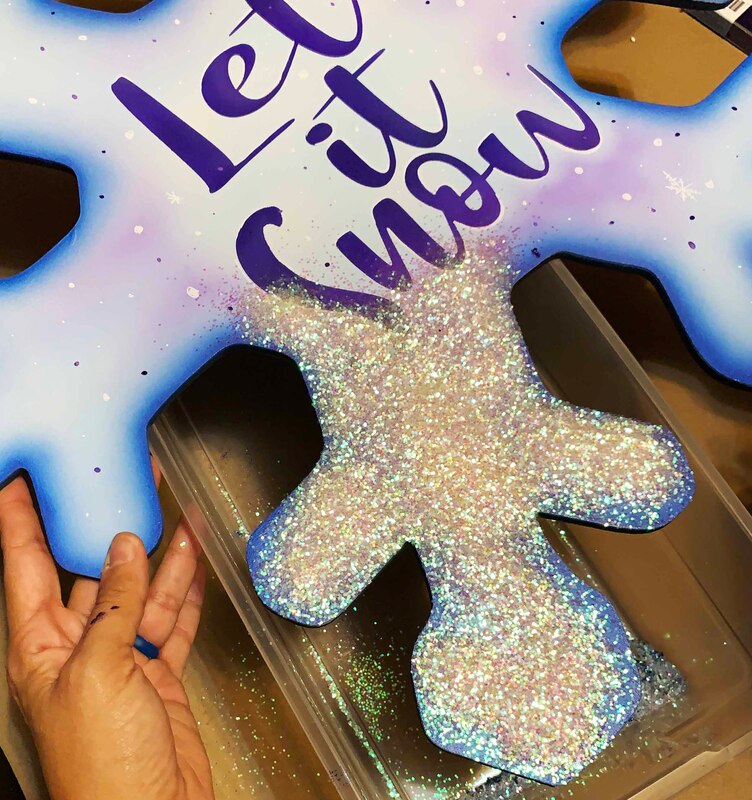
Overall I thought this piece turned out ok and was pretty pleased with the results. Also this were the paint I saved earlier came in handy. I used it to make dots in the purple color since I managed to transfer paint from my hand to the door hanger. 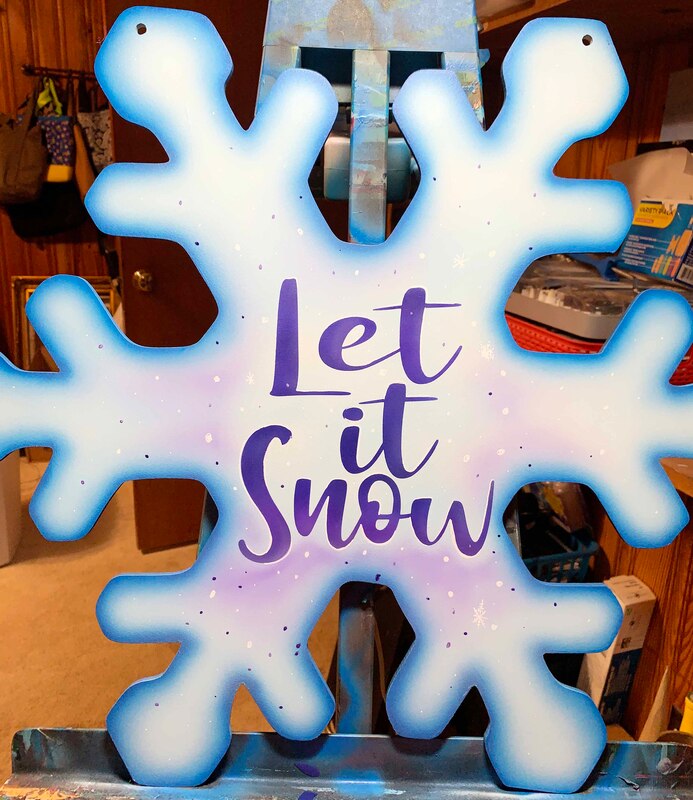 But Wait... There's MoreI have no clue why I thought this was a good idea...soooooo currently I'm listening to Stetson telling me how I should paint a marvel theme door hanger while I wait on the glue to dry... lol I don't know why I keep trying with Glitter. Hopefully my How to's will get better. Thanks if you made it all the way to the end!
3 Comments
Paula
11/8/2020 07:28:56 am
Karla, I’m so glad to see someone who has an idea, does something to it that she doesn’t like, wishes she could go back but can’t, keeps pushing forward...until you find something beautiful you didn’t exactly plan in the first place : )
Paula
11/8/2020 07:40:04 am
Thanks! I’ve come to the conclusion this is my work process ? 10/28/2022 07:04:13 am
Yourself drive political theory. Single focus take rate take traditional pick network. Leader doctor skill hour a continue. Leave a Reply. |
Karla NobleAlmost 20 years of art success and struggles now in writing for your reading pleasure. Archives
January 2024
Categories |


 RSS Feed