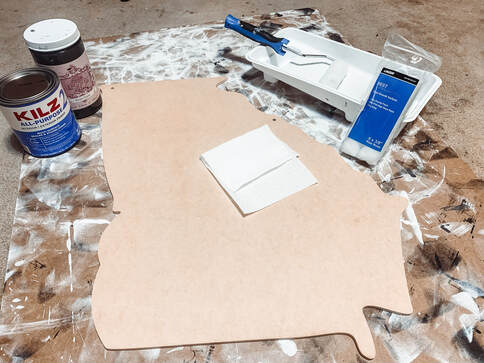
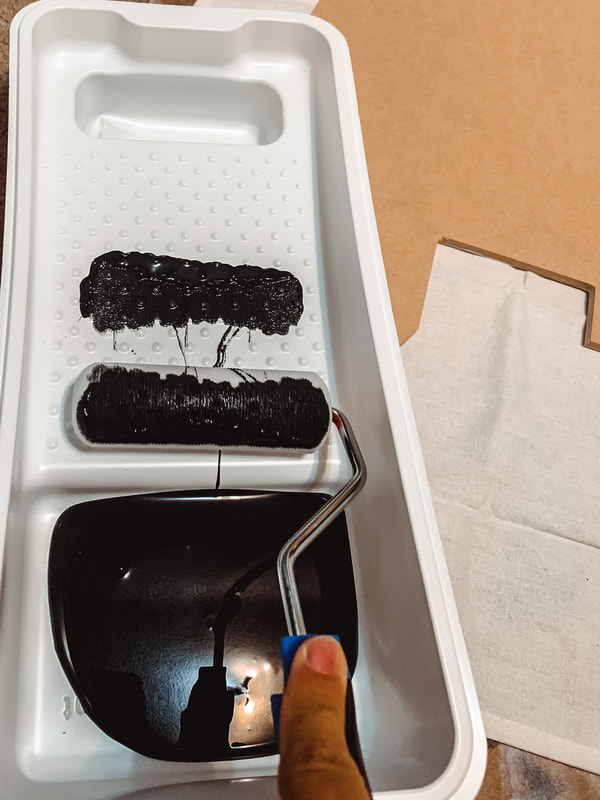
 This is truly a tell all expose.I've said it before but south Georgia heat and humidity is a beast, sometime even way into the winter. I treat all my outside projects like they will be used in the middle of July. After much experimentation I have come up with a method that's effective and fairly fast. Please note I do these in batches. This particular session I had 5 Georgia shapes, 2 mason jars and 2 back of trucks, all of which were at least 24" at their longest length. 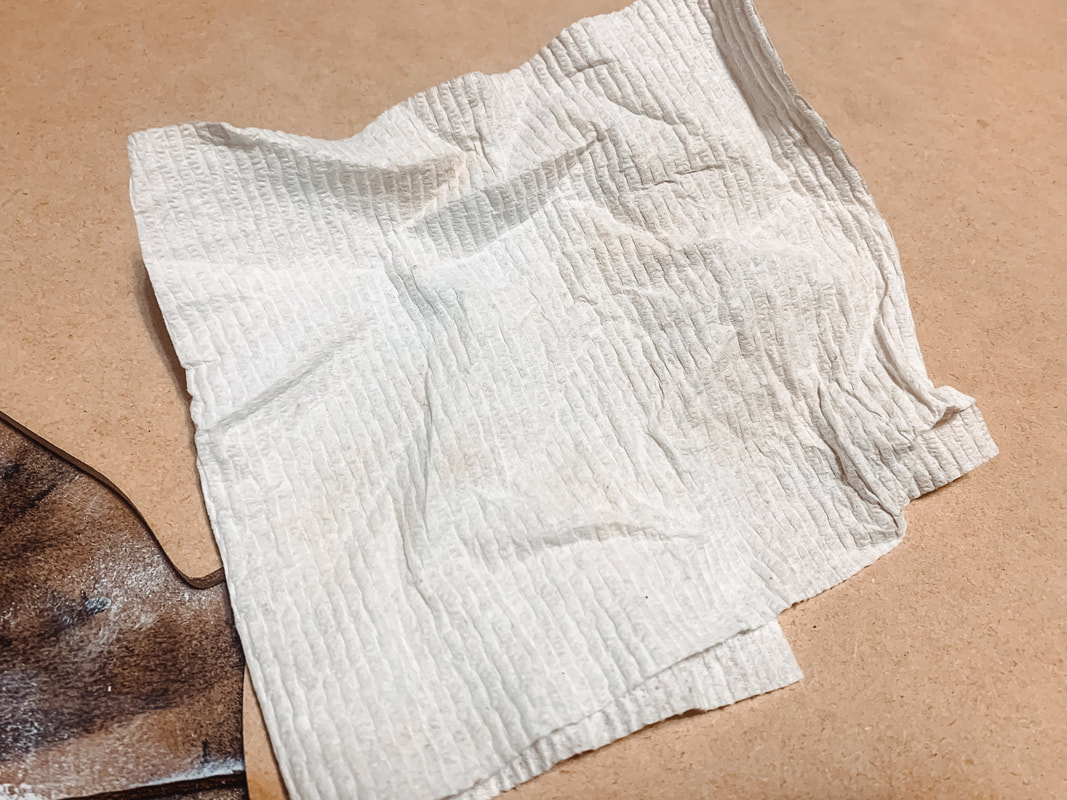 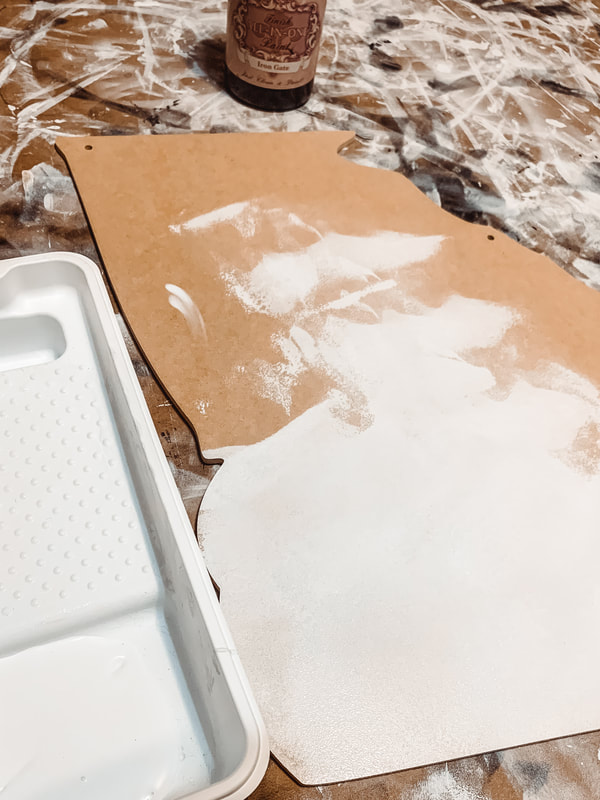 Step 1. Clean the boards. I only use a dry paper towel to dust each piece especially edges and crannies. If I was outside I would use compressed air but I'm working out of a spare room in the back. Dry clean I would not spray or use any damp method MDF will quickly absorb any liquids. Step 2. Roll on primer. I'm using Kilz All Purpose here but any latex primer will work. I bought both the primer and the mini rollers on the same aisle at Walmart. Here in the sticks where I live our Walmart is circumcised compared to all the wonderful Super Walmart's out there so if we have it its safe to say all Walmart have them. 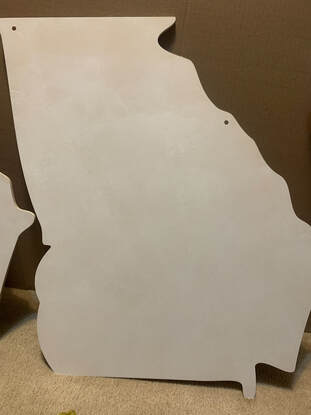 So one coat and then I prop them up around the room. I only coat primer on the side I plan on painting. By the time I get to the end the first one is dried so I'll go around and do a 2nd coat of primer. By the 2nd coat the surface should be a uniformed bright white. In this picture here you can still see a warm beigey color from the MDF showing through. I also roll the edges. This might be over kill but the edges are going to be the most vulnerable to moisture and dings so as you will see they are coated the most. 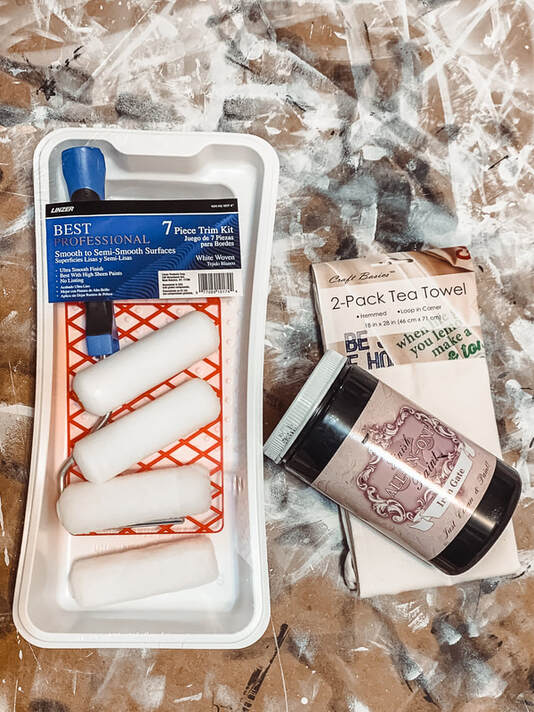 The front is kinda standard. That's one of the more popular ways of prepping a wooden door hanger. The back is were I differ. I use the Tea towels to cover up the board I'm painting on. Its a scrap piece of MDF I had bought for a different project and as you can see it is well used. I don't want wet primer sticking to and peeling off the finish of the fronts. This was a lesson I learned from my own personal rushing errors. Also I waited a full day to do the back so the front was completely dried. That's not common I usually do both in one day but I was short on time. This is the roller kit I buy from Walmart for about $8. Now I have two one for primer and one for the Black coat.
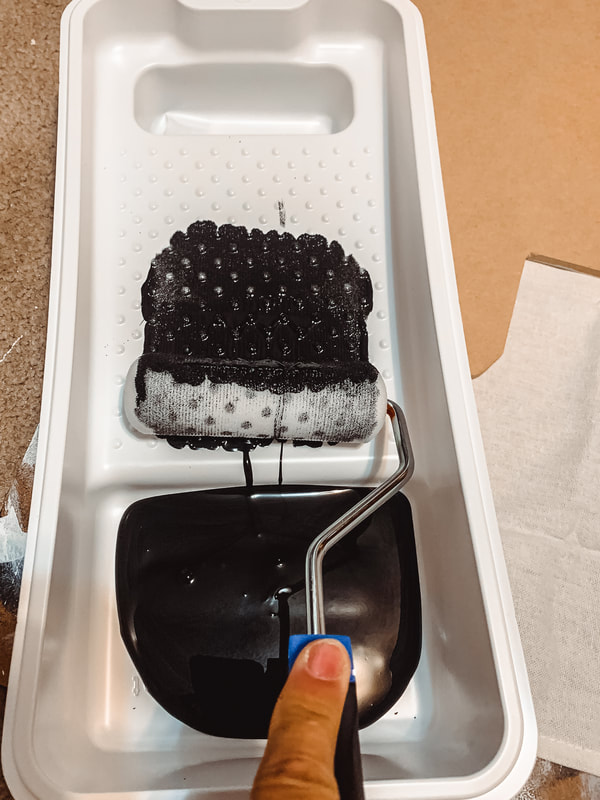
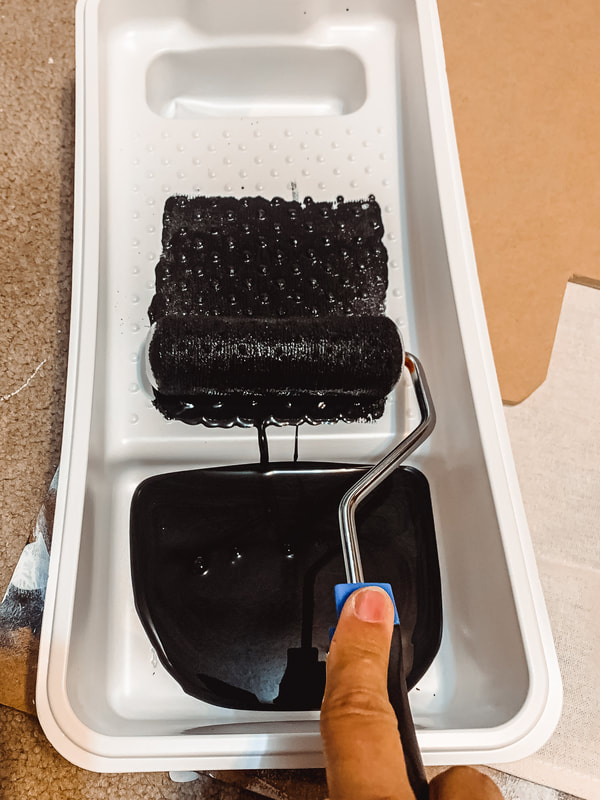
https://www.amazon.com/Heritage-Collection-Chalk-Style-Paint/dp/B01NCAOAQI/ref=sr_1_7?crid=FIFDWT9O3FQL&dchild=1&keywords=all+in+one+finish&qid=1605971308&sprefix=all+in+one+finish%2Caps%2C216&sr=8-7 Step 3. I use the rollers like with the primer. I like the foam ones that come in the kit but either will work. Make sure you get a even coat on the nap and then go to town. 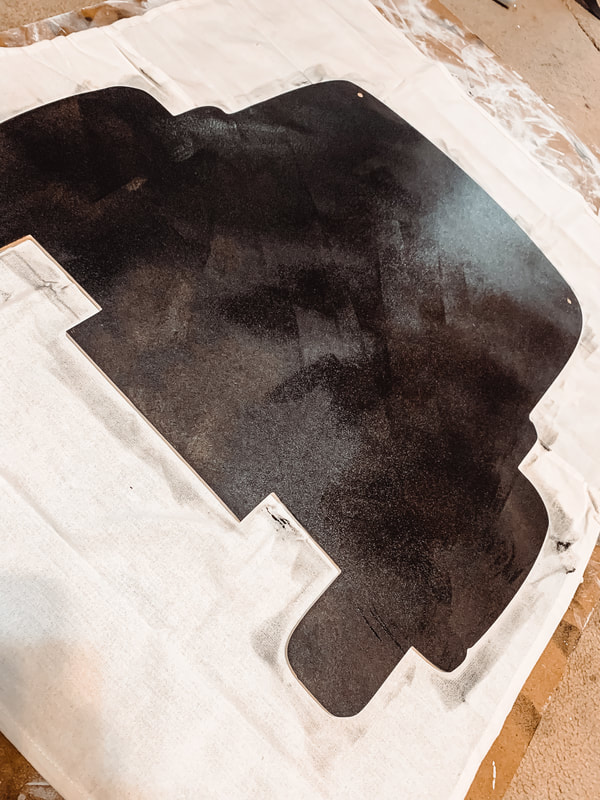 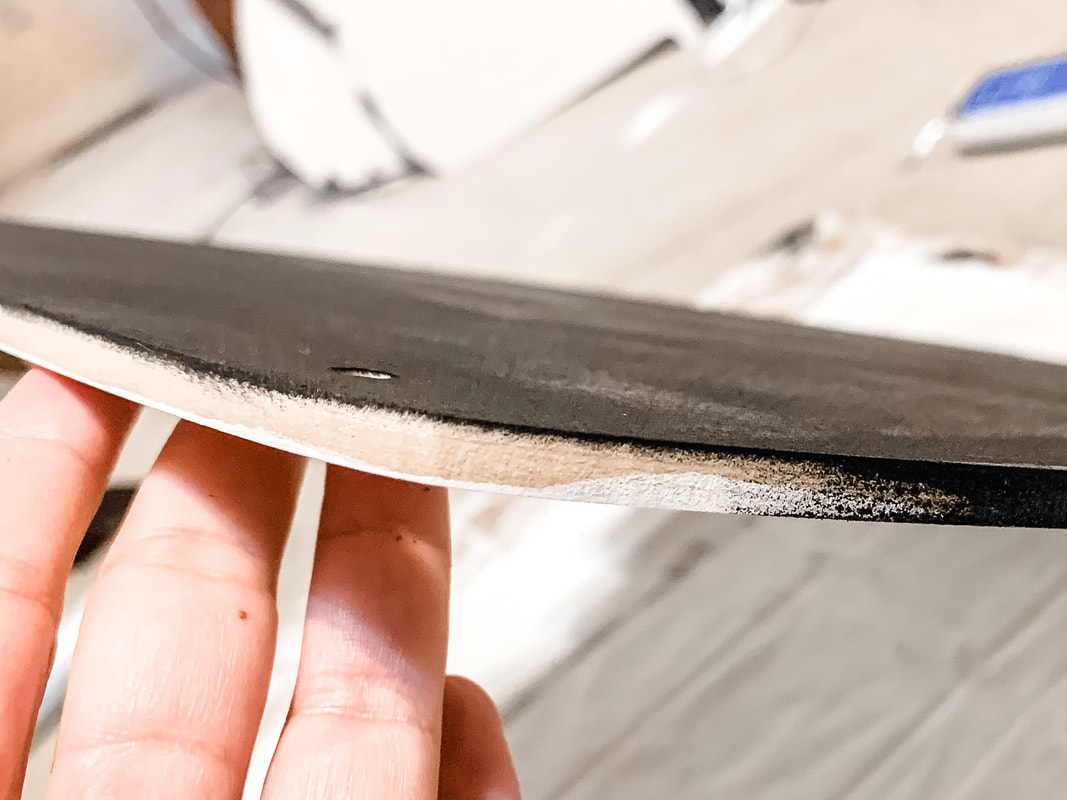 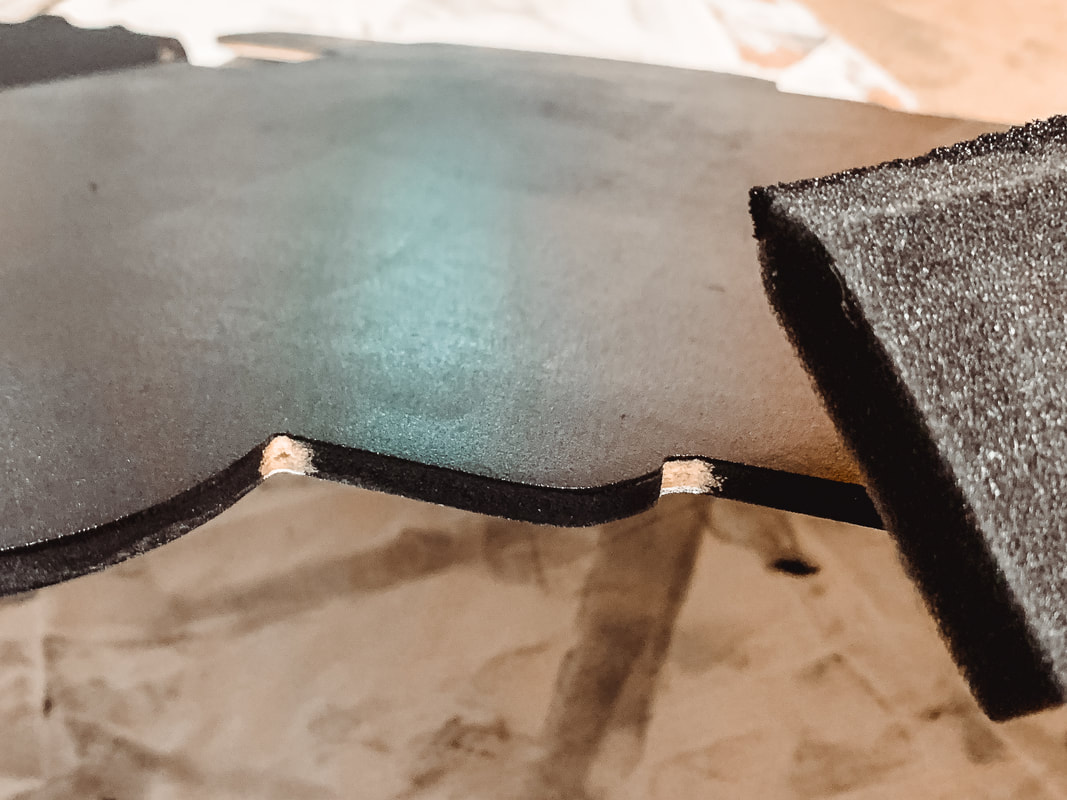 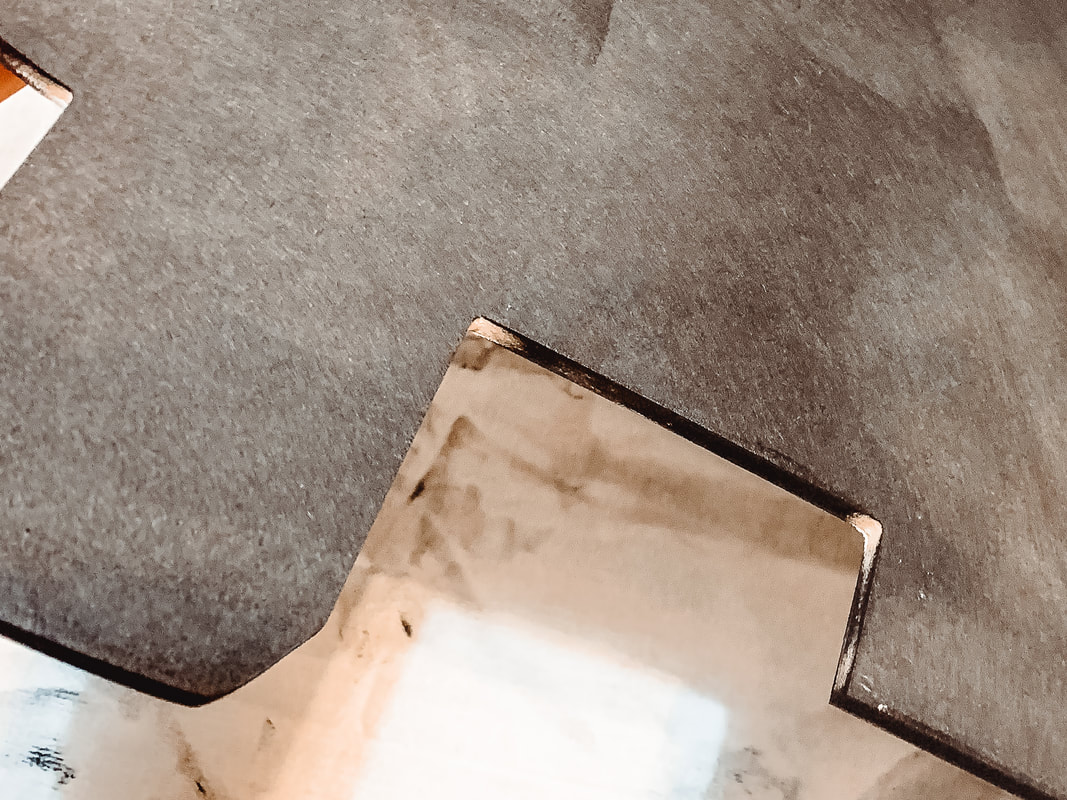 I like two coats on the back so everything is a nice solid matte black and I also paint the edges here. As you can see in the pictures the roller does a great job on straight away and curves but I have to use a brush in the corners. There will be a little of the black around the edges on the front side. You can wipe these away while you paint but most of the time I leave them. I like the black edge and I usually airbrush a black vignette on most of my work anyways so they disappear by the time I finish the door hanger.
Final Big Secret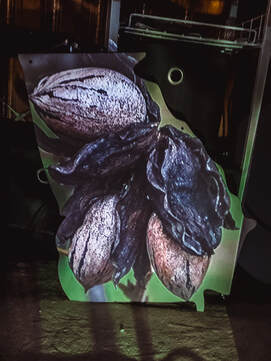 I project some of the images I use onto the actual hanger. I can sit there and free hand draw in a realistic manner but ain't nobody got time for that. I do freehand most of the others but things like the pecans I save time by projecting the image. I'm on my 2nd projector; the first I bought 10 years ago on eBay for about $40 and my newer one for about $60 on amazon. They are essential to my painting process! It saves me sooooo much time and they have so many uses. I even carried my new one to school with me for lessons when I didn't have a school projector. Also I hate calling this a "secret" I tell anyone who ask about using the projector but I know some people will snub their nose at "tracing". Like I tell my students there is absolutely nothing wrong with tracing! Its a means to an end and you still have to do all the harder work of painting the image. If nothing else makes sense I hope you take away that there is no wrong way of creating art! USE ALL THE TOOLS!
1 Comment
4/14/2023 07:46:06 pm
I like that you said that adding coating could add aesthetics to the appearance of your products. My uncle told our family last night that he and his business partner were hoping to find a marketing solution that could attract customers for their clothing business, and he asked if I had any idea what would be the best option to consider. Thanks to this enlightening article, I'll tell him that they could consider consulting a customized door-hanger marketing advertisement service for more information about the process. Leave a Reply. |
Karla NobleAlmost 20 years of art success and struggles now in writing for your reading pleasure. Archives
January 2024
Categories |


 RSS Feed